Thursday, 19 January 2023

Pergamano Lesson One - Groovi Starter Kit, Lace borders, corners & frames & More - Card 2

Here is the step by steps for the card I demo-ed on Create and Craft on Thursday, 12/1/2023, at 3pm using the Groovi stater Kit, Lace borders, corners & frames and other Groovi plates  ...

Groovi Plates

Groovi Deluxe Starter Kit with A5sq Butterfly Wreath Groovi Plate (GRO-SK-41709-XX)

Art Deco Border Plate Mate (GRO-MA-40348-13)

Lace Borders, Corners & Nested Circle Lace Frames Groovi Collection (GRO-PA-41817-XX)

Calendar, Relatives & Occasions Groovi Border Plate Trio (GRO-WO-40086-09)

Tina’s Butterfly, Dragonfly, Flower & Tree Fun A5sq Groovi Quartet (GRO-FL-41952-03)


All the embossing on this project is done on the back.
The colouring on this project is done on the back.

Step 1: From the Nested Squares Groovi plate that is in the deluxe starter kit, using the Groovi No.1 tool (or Pergamano 1mm embossing ball tool), emboss the 2nd and 3rd largest squares and only the horizontal lines of the 2nd smallest square as guidelines for the greeting panel.

Step 2: Move the parchment to the longer lines on the Groovi plate. Emboss to extend the guidelines using the Groovi No.1 tool (or Pergamano 1mm embossing ball tool).

Step 3: Line up the horizontal lines on the parchment over the vertical lines of the Groovi plate. Using the Groovi No.1 tool (or Pergamano 1mm embossing ball tool), emboss lines between the 2 squares to break up the border into smaller squares.

Step 4: In the panel, on the right (this on the front will be on the left), emboss the word 'Happy' from the Occasions Groovi border plate using the Groovi No.1 tool (or Pergamano 1mm embossing ball tool).

Step 5: On the left (this on the front will be on the right), emboss the word 'Mum'' from the Relatives Groovi border plate using the Groovi No.1 tool (or Pergamano 1mm embossing ball tool). This will allow for us to place 'Birthday' centrally between the 2 words.

Step 6: In the middle, emboss the word 'Birthday'' from the Relatives Groovi border plate using the Groovi No.1 tool (or Pergamano 1mm embossing ball tool).

Step 7: In the corners, emboss the large swirly pattern from the Lace Corners border Groovi plate, using the Groovi No.1 tool (or Pergamano 1mm embossing ball tool)

Step 8: Move the parchment higher on the Lace Corners border Groovi plate and emboss the smaller element of the design using the Groovi No.1 tool (or Pergamano 1mm embossing ball tool).

Step 9: Emboss the middle lace design from the Nested Lace Fan Border Frames border Groovi plate using the Groovi No.1 tool (or Pergamano 1mm embossing ball tool), remembering to skip the section between the greeting panel.

Step 10: Using the Groovi No.1 tool (or Pergamano 1mm embossing ball tool), from the Flower Fun Groovi plate, between the frame and the panel, on the right (this on the front will be on the left), emboss the cluster of the 3 daisies. 

Step 11: Using the Groovi No.1 tool (or Pergamano 1mm embossing ball tool), in the lower section between the frame and the panel, on the left (this on the front will be on the right), emboss the cluster of the 2 daisies.

Step 12: In the remaining space in the frame, emboss the tiny butterflies from the Dragonfly Fun Groovi plate using the Groovi No.1 tool (or Pergamano 1mm embossing ball tool).


Step 13: Still working on the back, colour using Perga Colours Exclusive pens.

Step 14: Colour the between the squares, corners, lace frame and in the greeting panel and butterflies using Perga Liner B pencils.
Blend the colours using a little Dorso oil and a blending nib. Use a different nib for each colour if possible.
(If you have too much oil on your nib, the colour will come off, so blot off the excess on a piece of kitchen towel. If you have too little oil, the blending will not be smooth, so touch just the very tip of the nib on the Dorso oil for the tiniest amount of oil).

To Finish: Cut the parchment piece to size.
Cut squares from Northern Lights companion paper and white card, each layer slightly larger than the other.
Mount and attach the parchment piece to the smallest Northern Lights paper square using Pergamano brads.
  Stick all the layers on folded 7"x7" white card using Clarity Roll-a-Tape.


Groovi plates and ingredients are available on https://claritycrafts.com.


Sending everyone STAY SAFE WISHES sprinkled with PERGA GLITTER. Take care.


Lots of Love, Hugs and Laughter

Tina x

Monday, 16 January 2023

Pergamano Lesson One - Groovi Starter Kit, Lace borders, corners & frames & More - Card 1

With the start of a new year, we decided, for the Pergamano Shows on Create and Craft, I will teach parchment craft from the beginning using various Groovi plates, Pergamano tools and Materials. So lesson one is all about playing with line art from the Groovi Starter Kit and various other Groovi plates. I did think about leaving out the colouring till later lessons but felt seeing that it really enhances parchment work, I'll teach it in it's most basic form in the first few lessons and in later teach more intermediate and advanced-ish colouring techniques.

Here is the step by steps for the card I demo-ed on Create and Craft on Thursday, 12/1/2023, at 11am using the Groovi stater Kit, Lace borders, corners & frames and other Groovi plates  ...


Groovi Plates

Groovi Deluxe Starter Kit with A5sq Butterfly Wreath Groovi Plate (GRO-SK-41709-XX)

Art Deco Border Plate Mate (GRO-MA-40348-13)

Lace Borders, Corners & Nested Circle Lace Frames Groovi Collection (GRO-PA-41817-XX)

Calendar, Relatives & Occasions Groovi Border Plate Trio (GRO-WO-40086-09)

Tina’s Butterfly, Dragonfly, Flower & Tree Fun A5sq Groovi Quartet (GRO-FL-41952-03)


All the embossing on this project is done on the back.
The colouring on this project is done on the back.

Step 1: Using the Groovi No.1 tool (or Pergamano 1mm embossing ball tool), emboss the largest and 5th largest squares from the Nested Squares Groovi plate that is in the deluxe starter kit.

Step 2: From the top right corner (this on the front will be in the top left corner), emboss part of the trunk, leaves and flowers from the Tree Fun Groovi plate using the Groovi No.1 tool (or Pergamano 1mm embossing ball tool).

Step 3: On the bottom left corner (this on the front will be in the bottom right corner), emboss the greeting from the Occasions Groovi border plate using the Groovi No.1 tool (or Pergamano 1mm embossing ball tool).

Step 4: Emboss a landscape from the Mountains and Hills Groovi plate in the deluxe starter kit using the Groovi No.1 tool (or Pergamano 1mm embossing ball tool), remembering skip the previously embossed areas.

Step 5: Using the Groovi No.1 tool (or Pergamano 1mm embossing ball tool), emboss the smaller sun from the Mountains and Hills Groovi plate so a part of it appears behind the mountain.
In the corners, between the squares, emboss the corner design from the Lace Corners border Groovi plate, leaving out the lower curved line on the design.

Step 6: In the space between the corner designs, emboss the part of the border from the Lace 2 border Groovi plate using the Groovi No.1 tool (or Pergamano 1mm embossing ball tool).

Step 7: On a small piece of parchment, emboss the little butterfly from the Dragonfly Fun Groovi plate using the Groovi No.1 tool (or Pergamano 1mm embossing ball tool).

Step 8: Still working on the back, colour using Perga Colours Exclusive pens.

Step 9: Colour the larger areas using Perga Liner B pencils.
Blend the colours using a little Dorso oil and a blending nib. Use a different nib for each colour if possible.
(If you have too much oil on your nib, the colour will come off, so blot off the excess on a piece of kitchen towel. If you have too little oil, the blending will not be smooth, so touch just the very tip of the nib on the Dorso oil for the tiniest amount of oil).

To Finish: Cut the butterfly out for the 3D element on the card.
Cut the parchment piece to size.
Cut squares from Shenandoah companion paper and white card, each layer slightly larger than the other.
Mount and attach the parchment piece to the smallest Shenandoah paper square using Pergamano brads.
  Stick all the layers on folded 7"x7" white card using Clarity Roll-a-Tape.

Here is a different colour option one …


Groovi plates and ingredients are available on https://claritycrafts.com.


Sending everyone STAY SAFE WISHES sprinkled with PERGA GLITTER. Take care.


Lots of Love, Hugs and Laughter

Tina x

Saturday, 26 November 2022

KISS Groovi Designs Inspiration 2

 Here is the step by steps for the card I demo-ed on Create and Craft on Saturday, 19/11/22, at 5pm using the Groovi plates version of the KISS range ...


Deluxe Groovi Plate Starter Kit + Butterfly Wreath A5 Square Plate  GRO-SK-40709-XX
Nested Squares Picot Cut Die Set & Groovi Plate  ACC-DI-30698-66
Nested Circles Picot Cut A4 Square Groovi Plate  GRO-PA-41069-15
Tina's Flower Set 1 A6 & Spacer Groovi Plate Collection  GRO-FL-41884-XX
Tina's Flower Doodles A5 Groovi Plate Duo  GRO-FL-41885-04

All the embossing on this project is done on the back.
The colouring on this project is done on the back.
All the perforating and cutting on this project are done from the front.

Step 1: Die cut the 3rd largest picot square on clear parchment paper using the Nested Squares Picot dies. Emboss the 3rd and 6th largest double square outlines from the corresponding Nested Picot Squares Groovi plate using the Groovi No.1 tool (or Pergamano 1mm embossing ball tool).

Step 2: Emboss the flower stems from the Dream, Believe, Hope Flowers Groovi plate using the Groovi No.2 tool (or Pergamano 1.5mm embossing ball tool) for the circles and Groovi No.1 tool (or Pergamano 1mm embossing ball tool) for the rest of the line art.

Step 3: Emboss part of the greeting medallion along the flower stems from the Sunshine Doodles Spacer Groovi plate using the Groovi No.2 tool (or Pergamano 1.5mm embossing ball tool) for the circles and Groovi No.1 tool (or Pergamano 1mm embossing ball tool) for the rest of the line art.

Step 4: Repeat 2 more times if you want 3 partial medallions.

Step 5: Emboss the butterfly from the Sunshine Doodles Spacer Groovi plate using the Groovi No.2 tool (or Pergamano 1.5mm embossing ball tool) for the circles and Groovi No.1 tool (or Pergamano 1mm embossing ball tool) for the rest of the line art.

Step 6: Between the square frames, doing the corners first, emboss the floral design from the Happy Birthday Flowers Groovi plate using the Groovi No.2 tool (or Pergamano 1.5mm embossing ball tool) for the circles and Groovi No.1 tool (or Pergamano 1mm embossing ball tool) for the rest of the line art.

Step 7: In the space left along each side, align the parchment over the plate to fill in the area using the Groovi No.2 tool (or Pergamano 1.5mm embossing ball tool) for the circles and Groovi No.1 tool (or Pergamano 1mm embossing ball tool) for the rest of the line art.

Step 8: Inside the medallions emboss the smallest double circle outlines from the Nested Circles Picot Groovi plate using the Groovi No.1 tool (or Pergamano 1mm embossing ball tool).

Step 9: Using the Groovi No.2, 3 & 4 tools (or Pergamano 1mm, 1.5mm and 3mm embossing ball tools) gently emboss inside the circles that had been embossed using the Groovi No.2 tool, starting with the largest ball tool and remembering to let the parchment rest between layers.

Step 10: Still working on the back, colour along the edge of the smallest square using the Perga Liner B pencils.

Step 11: Blend the colours using a little Dorso oil and a blending nib. Use a different nib for each colour if possible.
(If you have too much oil on your nib, the colour will come off, so blot off the excess on a piece of kitchen towel. If you have too little oil, the blending will not be smooth, so touch just the very tip of the nib on the Dorso oil for the tiniest amount of oil)
Use Perga Colours Exclusive pen to colour between the double rectangle outlines.

Step 12: Colour the between all the double outlines, flower petals, leaves and butterfly wings using Perga Colours Exclusive pens.

Step 13: From the front, over the super foam, using Pergamano bold 2-needle perforating tool, perforate inside the medallions and between the areas in the floral border.

Picot cut between all the perforations making sure the scissors are over the waste when you cut.


To Finish: Add as much or as little (or none) Perga glitter as you wish.
Cut squares from Indian Summer designer paper and white card using the 2 largest Nested Squares Picot Cut Die. Cut another square from the Indian Summer companion paper that is slightly larger than the white picot cut square card.
Mount and attach the pieces together using Pergamano brads and stick this on folded white card.


Some more inspiration I have created using a selections of the Groovi plates from this collection ...


Groovi plates and ingredients are available on https://claritycrafts.com.


Sending everyone STAY SAFE WISHES sprinkled with PERGA GLITTER. Take care.


Lots of Love, Hugs and Laughter

Tina x

Friday, 25 November 2022

KISS Groovi Designs Inspiration 1

 Here is the step by steps for the card I demo-ed on Create and Craft on Saturday, 19/11/22, at 1pm using the Groovi plates version of the KISS range …


Deluxe Groovi Plate Starter Kit + Butterfly Wreath A5 Square Plate  GRO-SK-40709-XX
Nested Squares Picot Cut Die Set & Groovi Plate  ACC-DI-30698-66
Tina's Flower Set 1 A6 & Spacer Groovi Plate Collection  GRO-FL-41884-XX
Tina's Flower Doodles A5 Groovi Plate Duo  GRO-FL-41885-04

All the embossing on this project is done on the back.
The colouring on this project is done on the back.

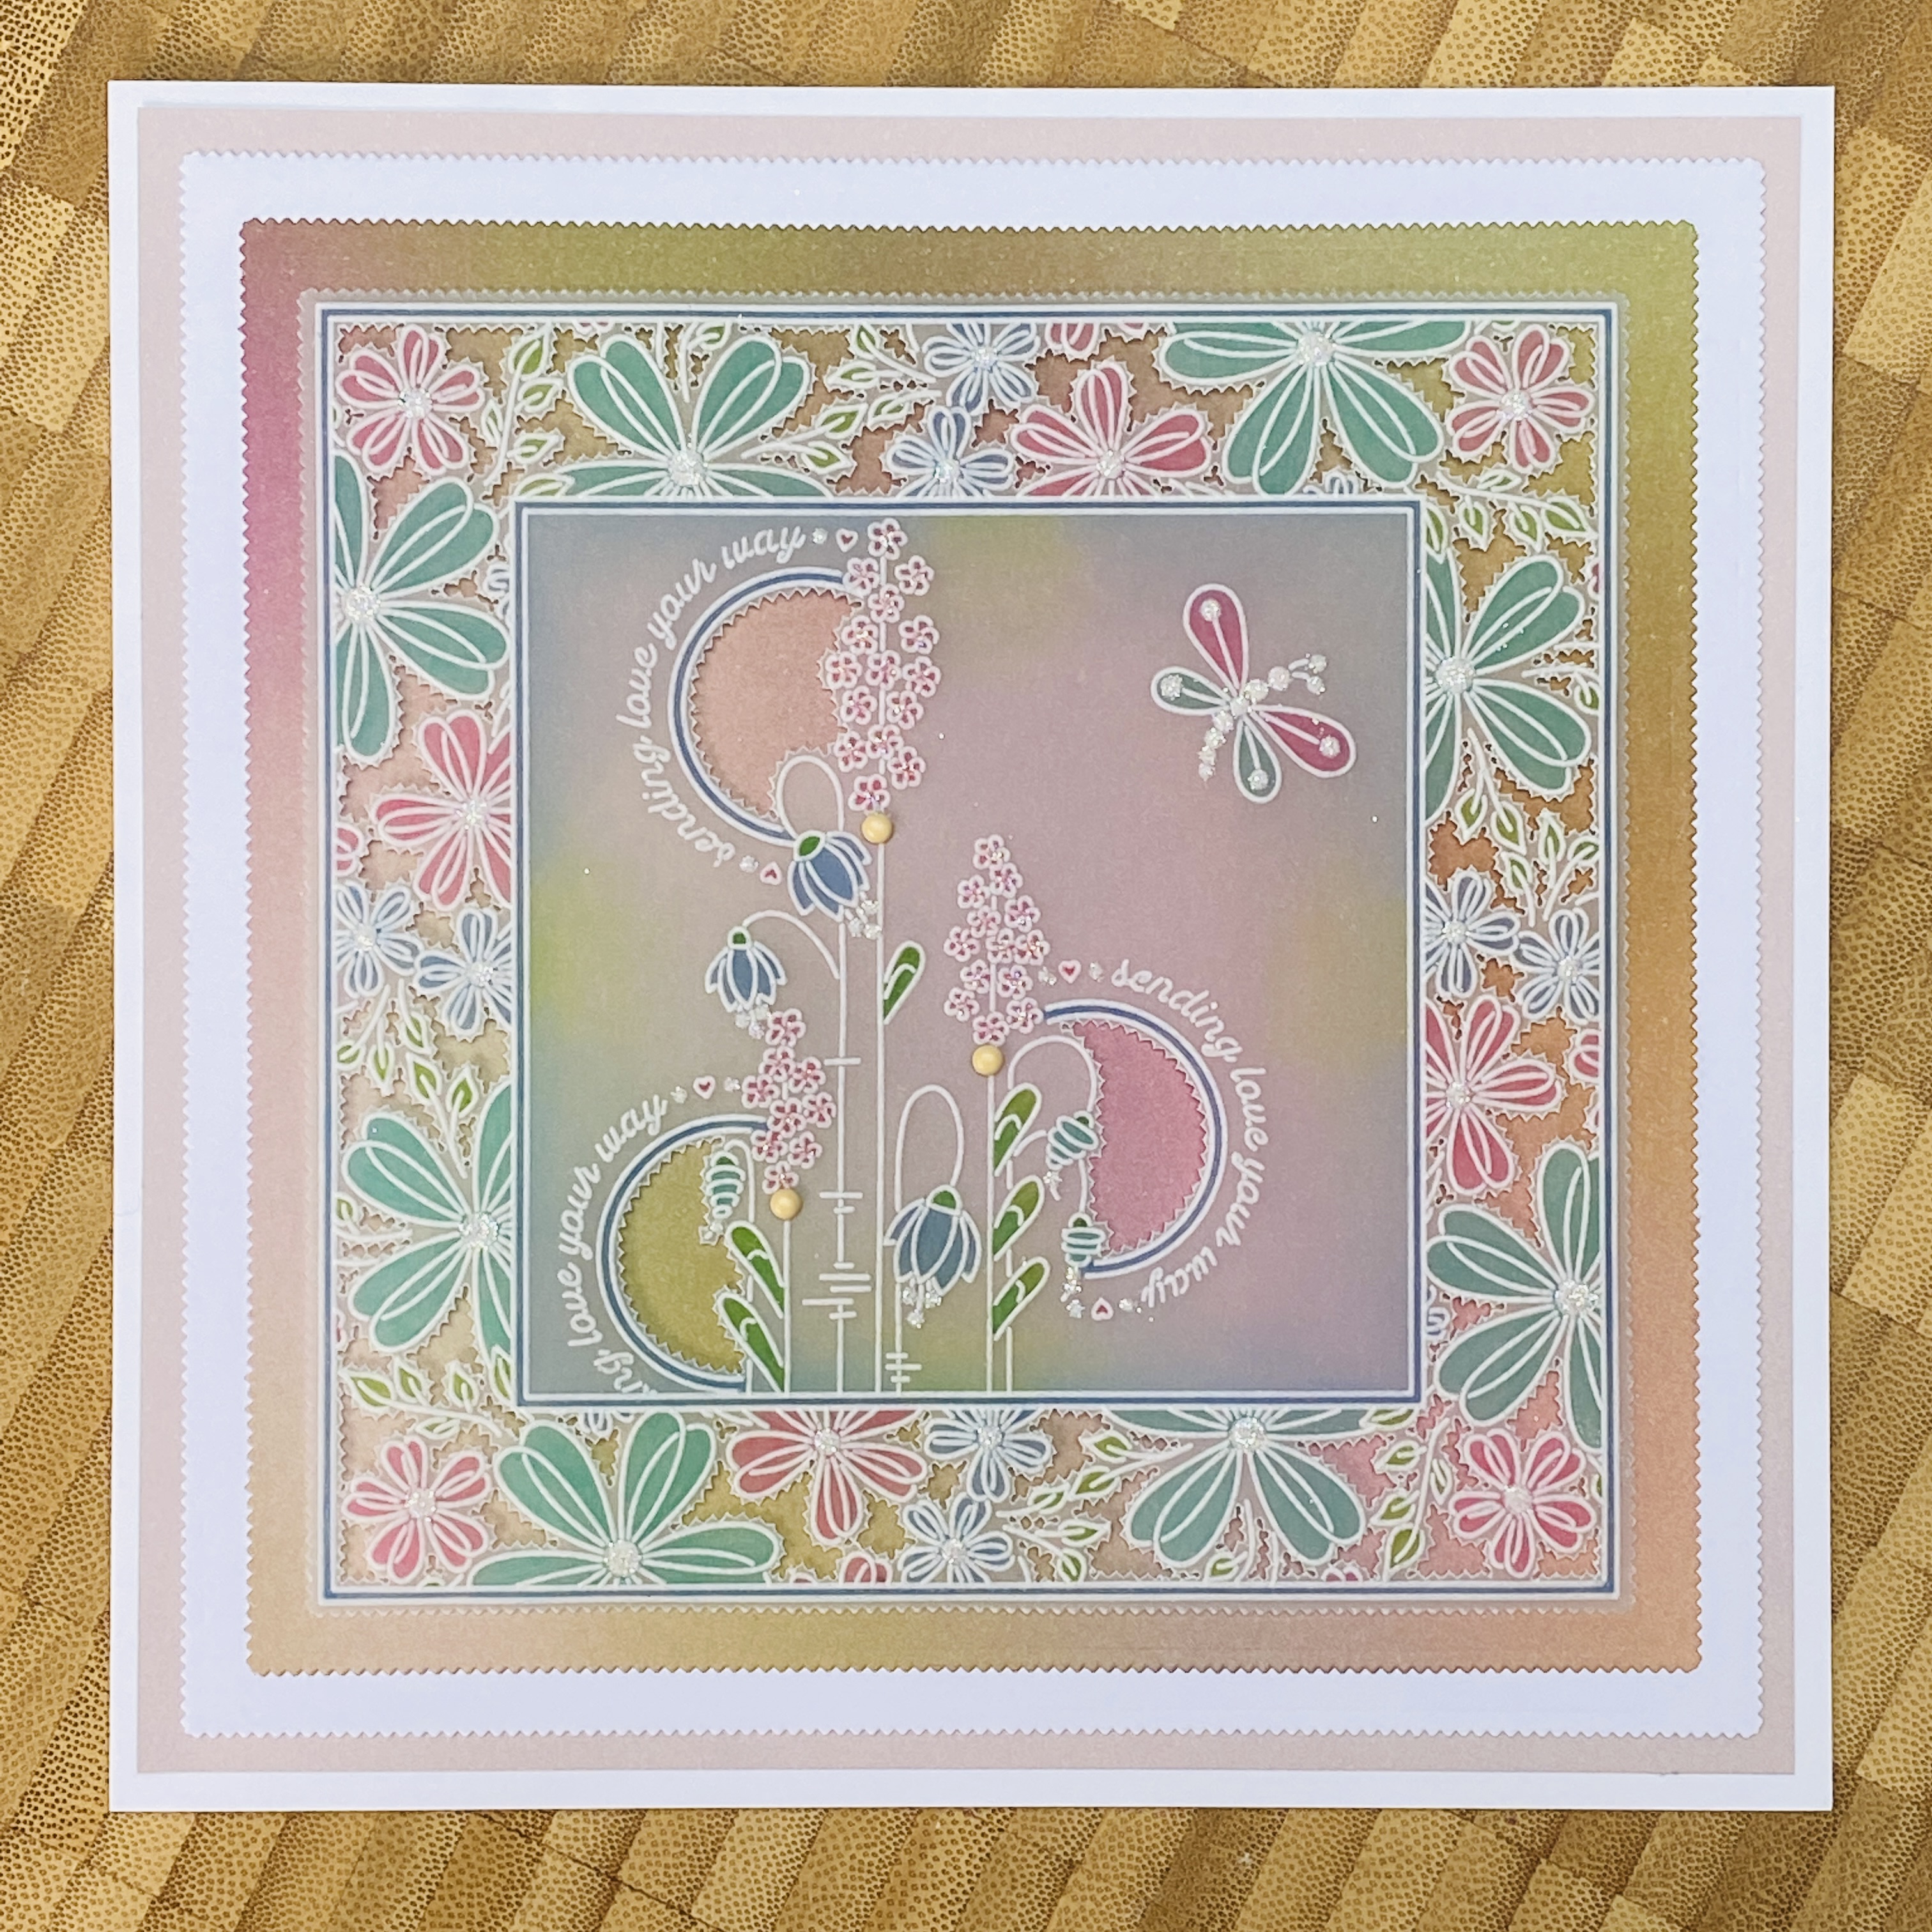
Step 1: Die cut the 4th largest picot square on clear parchment paper using the Nested Squares Picot dies. Emboss just the frame and circle from the With Love Flowers Groovi plate using the Groovi No.1 tool (or Pergamano 1mm embossing ball tool), leaving out part of the design in the bottom left corner for the greeting.

Step 2: Emboss the greeting in the bottom left corner space from the Sending Love Flowers Spacer Groovi plate using the Groovi No.1 tool (or Pergamano 1mm embossing ball tool).

Step 3: Emboss the greeting medallion in the centre from the Buttercup Doodles Spacer Groovi plate using the Groovi No.1 tool (or Pergamano 1mm embossing ball tool).

Step 4: Attach the parchment back on the With Love Flowers Groovi plate and emboss the floral design around the medallion using Groovi No.1 tool (or Pergamano 1mm embossing ball tool) for the rest of the line art.

Step 5: Inside the medallion, emboss part of the floral design from the Happy Birthday Flowers Groovi plate to create a butterfly using the Groovi No.1 tool (or Pergamano 1mm embossing ball tool).

Step 6: Still working on the back, colour in the space between the 2 circles and a little bit around the outside of the doodle frame using the Perga Liner B pencils.

Step 9: Blend the colour using a little Dorso oil and a blending nib.
(If you have too much oil on your nib, the colour will come off, so blot off the excess on a piece of kitchen towel. If you have too little oil, the blending will not be smooth, so touch just the very tip of the nib on the Dorso oil for the tiniest amount of oil)

Step 10: Using the white end of an eraser pencil (found here), rub off the blended colour from the flower petals and leaves.

Step 11: Colour the flower petals, leaves, butterfly wings, and circles using Perga Colours Exclusive pens.

To Finish: Add as much or as little (or none) Perga glitter as you wish.
Cut squares from Rainbow River designer paper, white card and Rainbow River companion paper using the 3 largest Nested Squares Picot Cut Die.
Mount and attach the pieces together using Pergamano brads and stick this on folded white card.


Here is a smaller version where I have added a bit of whitework and with not so many backing paper layers …


Groovi plates and ingredients are available on https://claritycrafts.com.


Sending everyone STAY SAFE WISHES sprinkled with PERGA GLITTER. Take care.


Lots of Love, Hugs and Laughter

Tina x