Good morning/afternoon/evening. I'm running behind my schedule as usual. I wanted to blog the steps to this card using the Floral and Rosie Doodle plates two week after the open days but, as usual, life took over! I can't believe it has been over a couple of weeks since those fantastic days meeting up with everyone, chatting and sharing a few giggles. The event really felt like coming home and had been missed so much which I didn't realise how much till then.
I'm off to go sit with mum at the nursing home so I'll be super quick with this post for this card ...

Groovi Plates:
Deluxe Groovi Plate Starter Kit + Butterfly Wreath A5 Square Plate GRO-SK-40709-XX
Word Chain Alphabet Groovi Border Plate Mate GRO-MA-40559-13
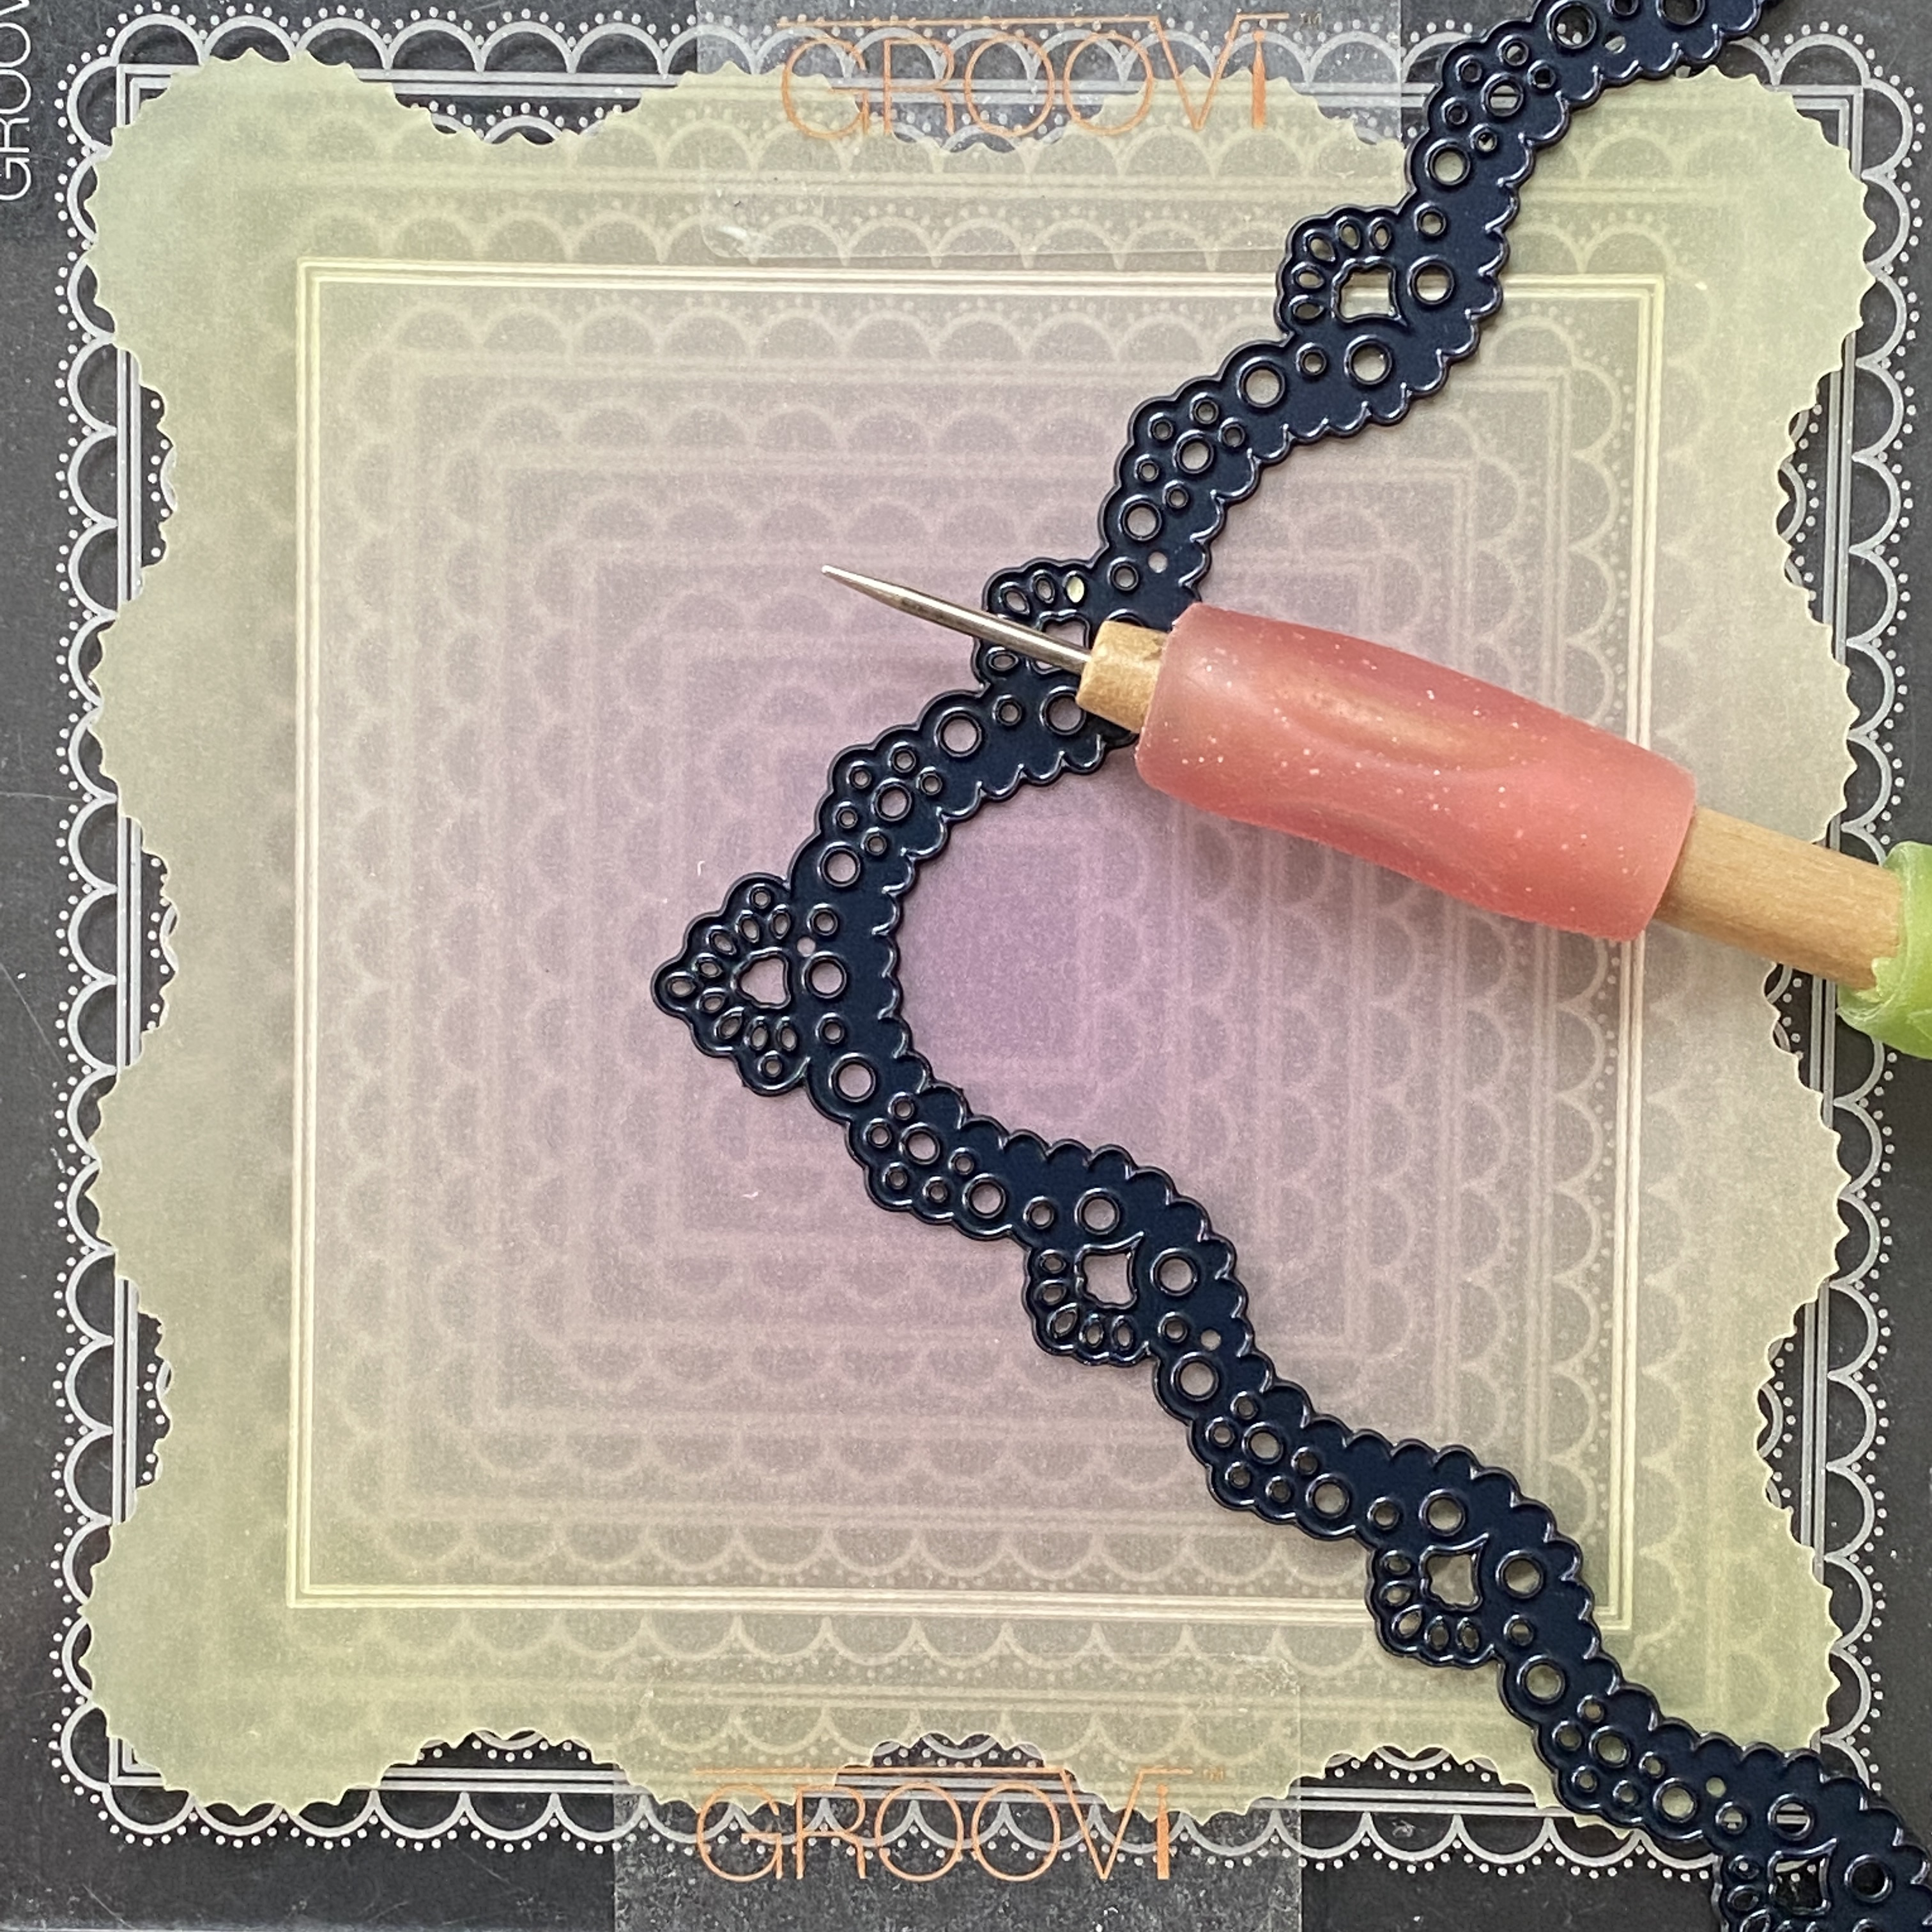
Nested Square Lace Doily Frames Fresh Cut Die Set ACC-DI-31257-XX
Diagonal & Straight Basic Bold A5 Square Groovi Piercing Grid Set GRO-GG-41233-12
Diagonal Pattern No.2 Groovi Border Piercing Grid GRO-GG-40355-14
Diagonal Basic Groovi Border Piercing Grid GRO-GG-40383-14
Step 1: Die cut the largest doily square on rainbow parchment paper (I've used Lemon Sorbet) using the Nested Square Lace Doily Frames die set. Before cutting, make sure you have placed the die with the cutting side down on the softer matt side facing up of the rainbow parchment.
Turn the parchment so the brighter glossy side is facing up (this is the back). Attach it to the Nested Scallops Squares Groovi plate with Groovi tabs and emboss the 3rd largest square outlines using the Groovi No.1 tool (or Pergamano 1mm embossing ball too).
Step 2: Over the Rosie Doodle Wreath Groovi Plate, emboss part of the circle design in each corner of the square using the Groovi No.2 tool (or Pergamano 1.5mm embossing ball tool) for the flower centres and the rest of the design using Groovi No.1 tool (or Pergamano 1mm embossing ball tool).

Step 3: Over the Floral Doodle Wreath Groovi Plate, emboss part of the 3 large circles and floral design between the corner designs using the Groovi No.2 tool (or Pergamano 1.5mm embossing ball tool) for the little circles and the rest of the design using Groovi No.1 tool (or Pergamano 1mm embossing ball tool).

Step 4: Over the Rosie Doodle Border Groovi Border Plate, in the centre, emboss part of the border design leaving out the little flower in the small circle using Groovi No.1 tool (or Pergamano 1mm embossing ball tool).

Step 5: Over the Diagonal Basic Bold Grid, from the front, emboss dots in the sections without the floral designs using Groovi No.2 tool (or Pergamano 1.5mm embossing ball tool).
Normally when we use the piercing grids for embossing, we do it from the back. For this card, because I wanted my floral designs to stand out, I have debossed the dots (i.e. embossed from the front). This way it made the parchment around the floral design 'sink' and the dots appear less white.

Step 6: Turn the work once more to the back and over the Diagonal Pattern No.2 Groovi Border Piercing Grid part of the border outside each side of the square. Work one side at the time, removing the parchment, turning it along the border plate to emboss the dots on the next side using Groovi No.2 tool (or Pergamano 1.5mm embossing ball tool).

Step 7: On the front, using the bold 1-needle perforating tool, perforate a hole within the embossed border pattern by lining up the embossed border over the Diagonal Basic Groovi Border Piercing Grid. Work one side at the time, removing the parchment, turning it along the grid plate to perforate on the next side.


Step 9: Still working on the back, colour the circles using the Perga Liner B pencils. Blend the colours using a little Dorso oil on a sponge and a blending nib. Use a different nib for each colour if possible. If you have too much oil on your nib, the colour will come off, so blot off the excess on a piece of kitchen towel. If you have too little oil, the blending will not be smooth, so touch just the very tip of the nib on the Dorso oil for the tiniest amount of oil.
NB - You do not need to colour inside the corner quarter circles if you are going to perforate between the circle outlines and the floral designs which I decided to do later after I had photographed for this step.

Step 10: Colour the flowers and leaves using Perga Colours Exclusive pens.

Step 11: Colour the gem on the front using Perga Liner B pencils or Polychromos. Start with the lightest colour working to the darkest. Do not press too hard with the pencils as it is better to add layers f colour gradually. Repeat on the back for depth on the front.
Finish the gem by drawing the highlights at the top using a white gel pen.

Step 12: From the front, over the super foam, using Pergamano bold 2-needle perforating tool, perforate between the floral designs in the corners and around design in the middle circle.
Picot cut between all the perforations making sure the scissors are over the waste when you cut.

Sorry if there are tons of spelling and grammar mistakes as I did copy and paste a lot of things!!! This means that my previous various blogs had the same mistakes too! Enjoy the giggles. Lol
I hope you enjoyed this step out and look forward to seeing all your creations.
Groovi plates and ingredients are available on http://www.claritystamp.com.
Sending everyone STAY SAFE WISHES sprinkled with PERGA GLITTER. Take care.
Lots of Love, Hugs and Laughter
Tina x