Here is the step by steps for the card I demo-ed on Create and Craft on Saturday, 19/11/22, at 1pm using the Groovi plates version of the KISS range …

Deluxe Groovi Plate Starter Kit + Butterfly Wreath A5 Square Plate GRO-SK-40709-XX
Nested Squares Picot Cut Die Set & Groovi Plate ACC-DI-30698-66
Tina's Flower Set 1 A6 & Spacer Groovi Plate Collection GRO-FL-41884-XX
Tina's Flower Doodles A5 Groovi Plate Duo GRO-FL-41885-04
All the embossing on this project is done on the back.
The colouring on this project is done on the back.
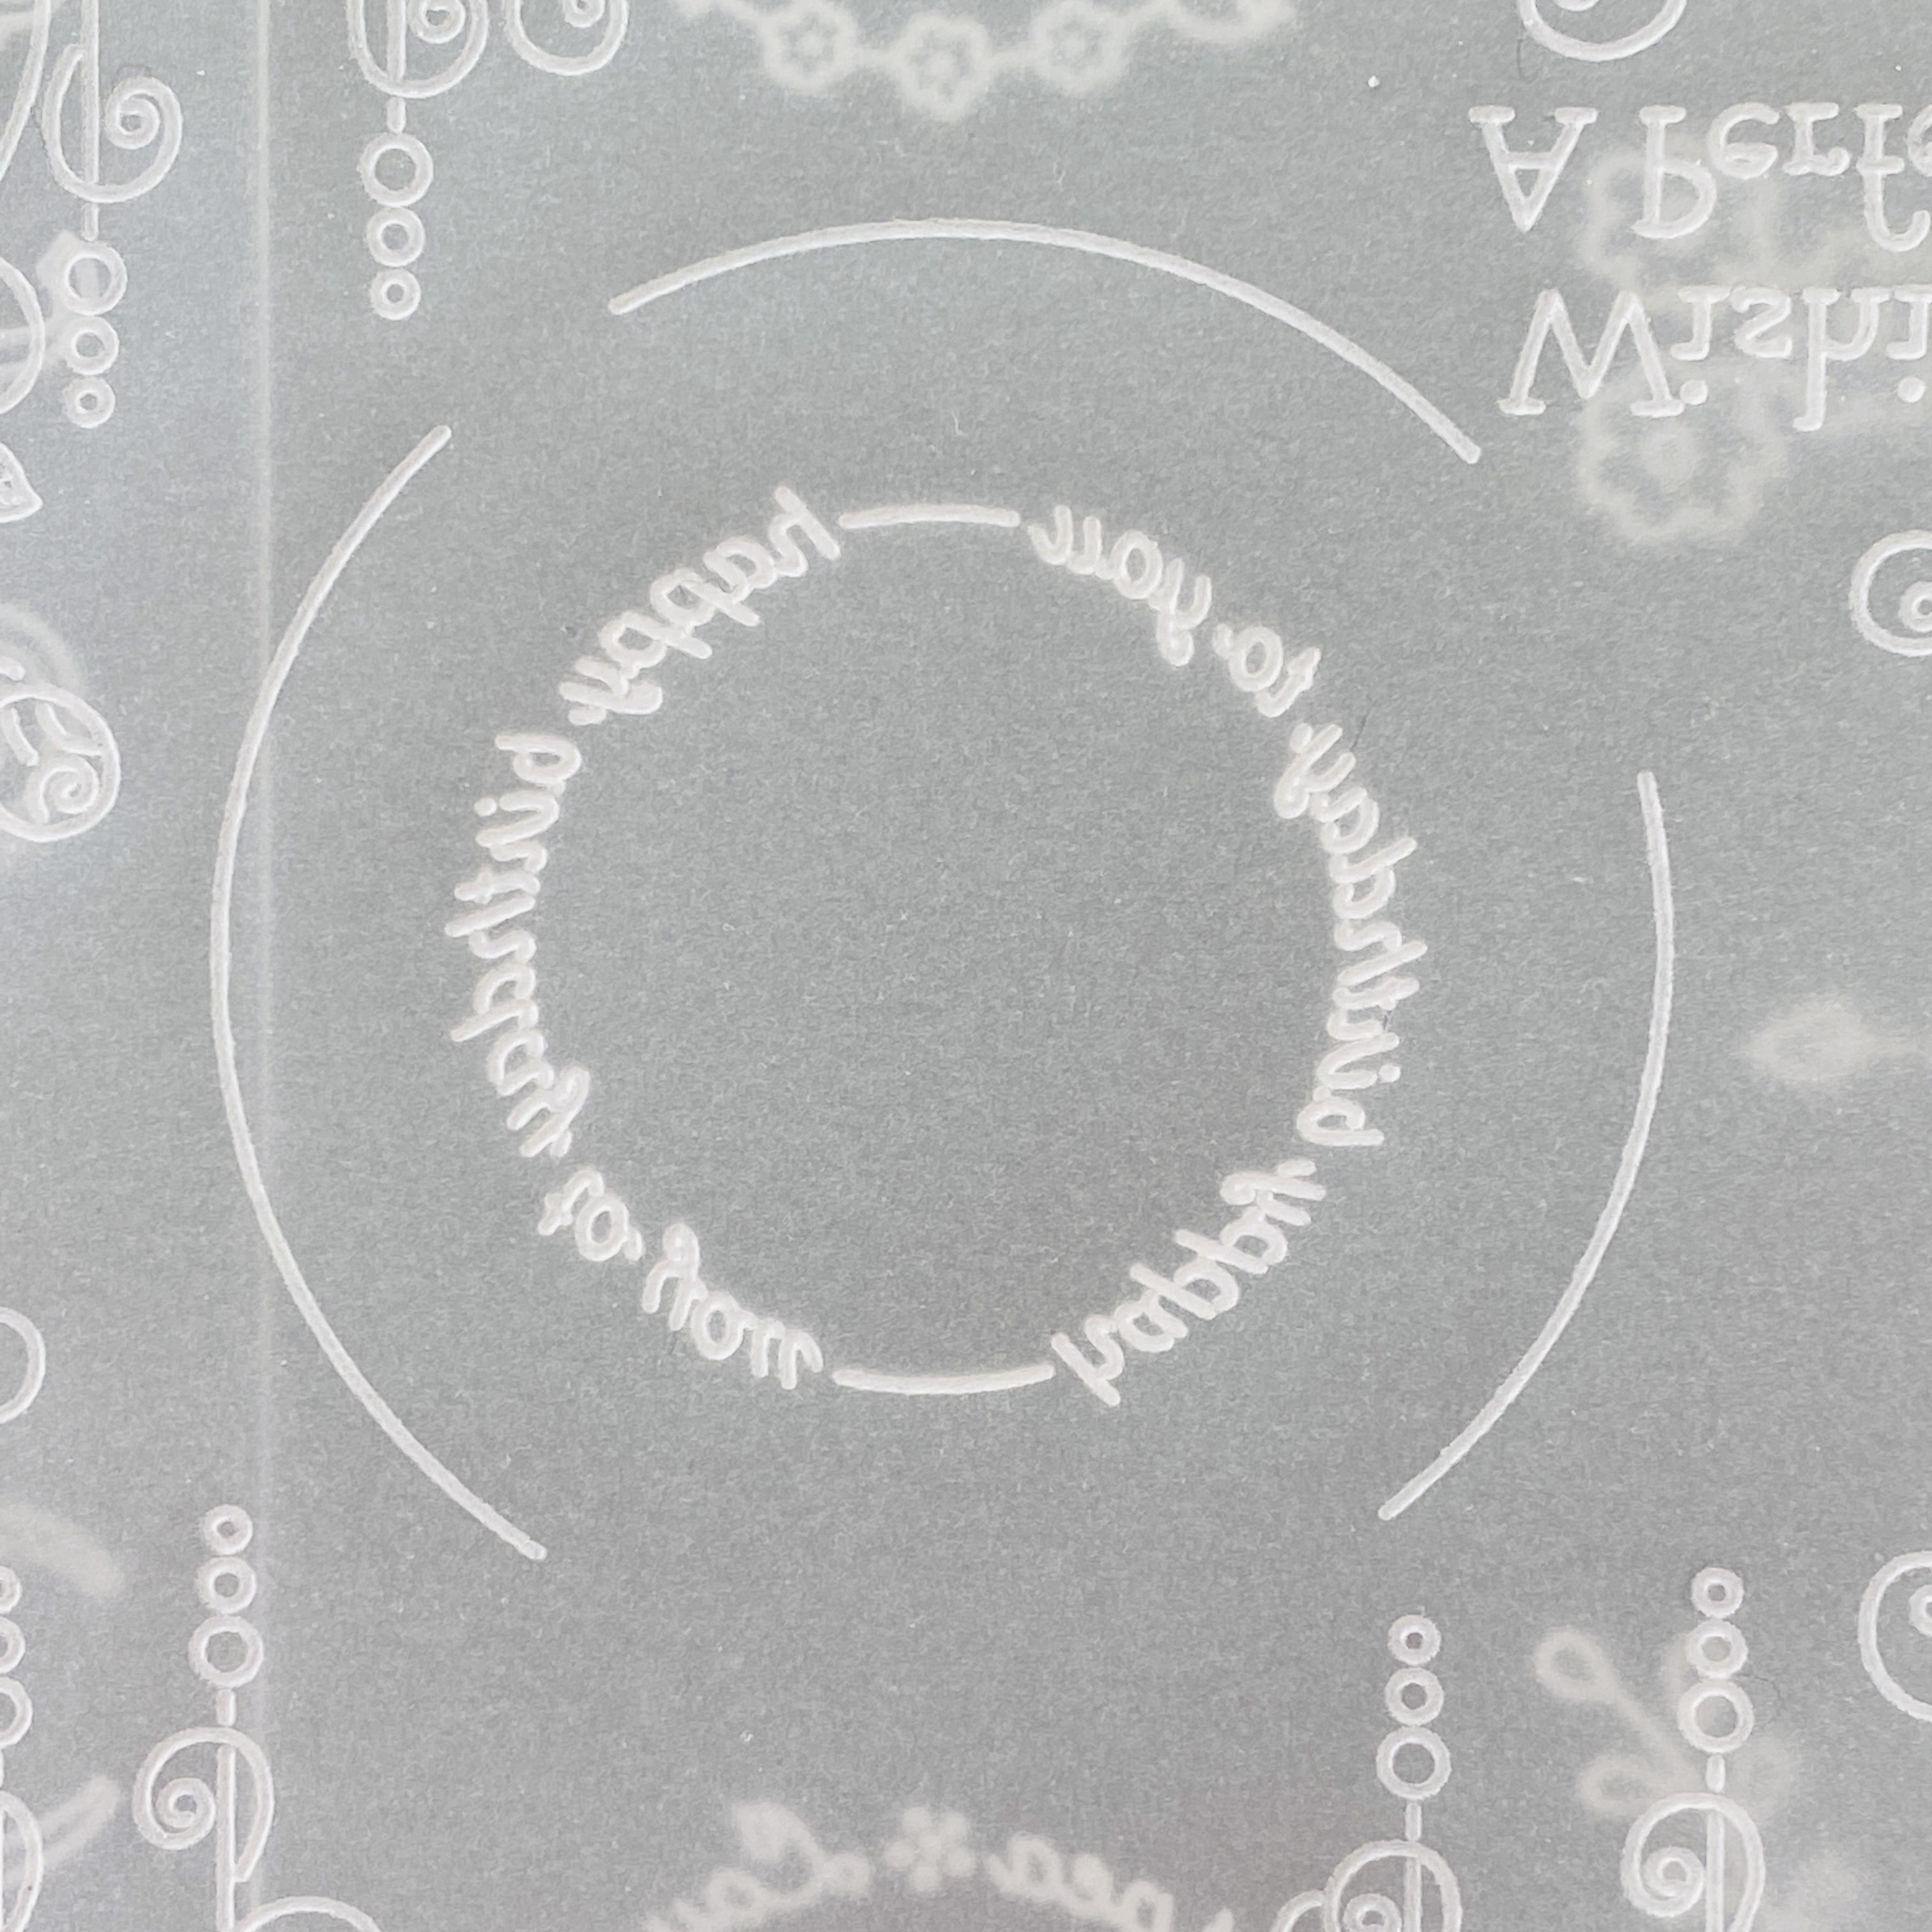
Step 1: Die cut the 4th largest picot square on clear parchment paper using the Nested Squares Picot dies. Emboss just the frame and circle from the With Love Flowers Groovi plate using the Groovi No.1 tool (or Pergamano 1mm embossing ball tool), leaving out part of the design in the bottom left corner for the greeting.

Step 2: Emboss the greeting in the bottom left corner space from the Sending Love Flowers Spacer Groovi plate using the Groovi No.1 tool (or Pergamano 1mm embossing ball tool).

Step 3: Emboss the greeting medallion in the centre from the Buttercup Doodles Spacer Groovi plate using the Groovi No.1 tool (or Pergamano 1mm embossing ball tool).
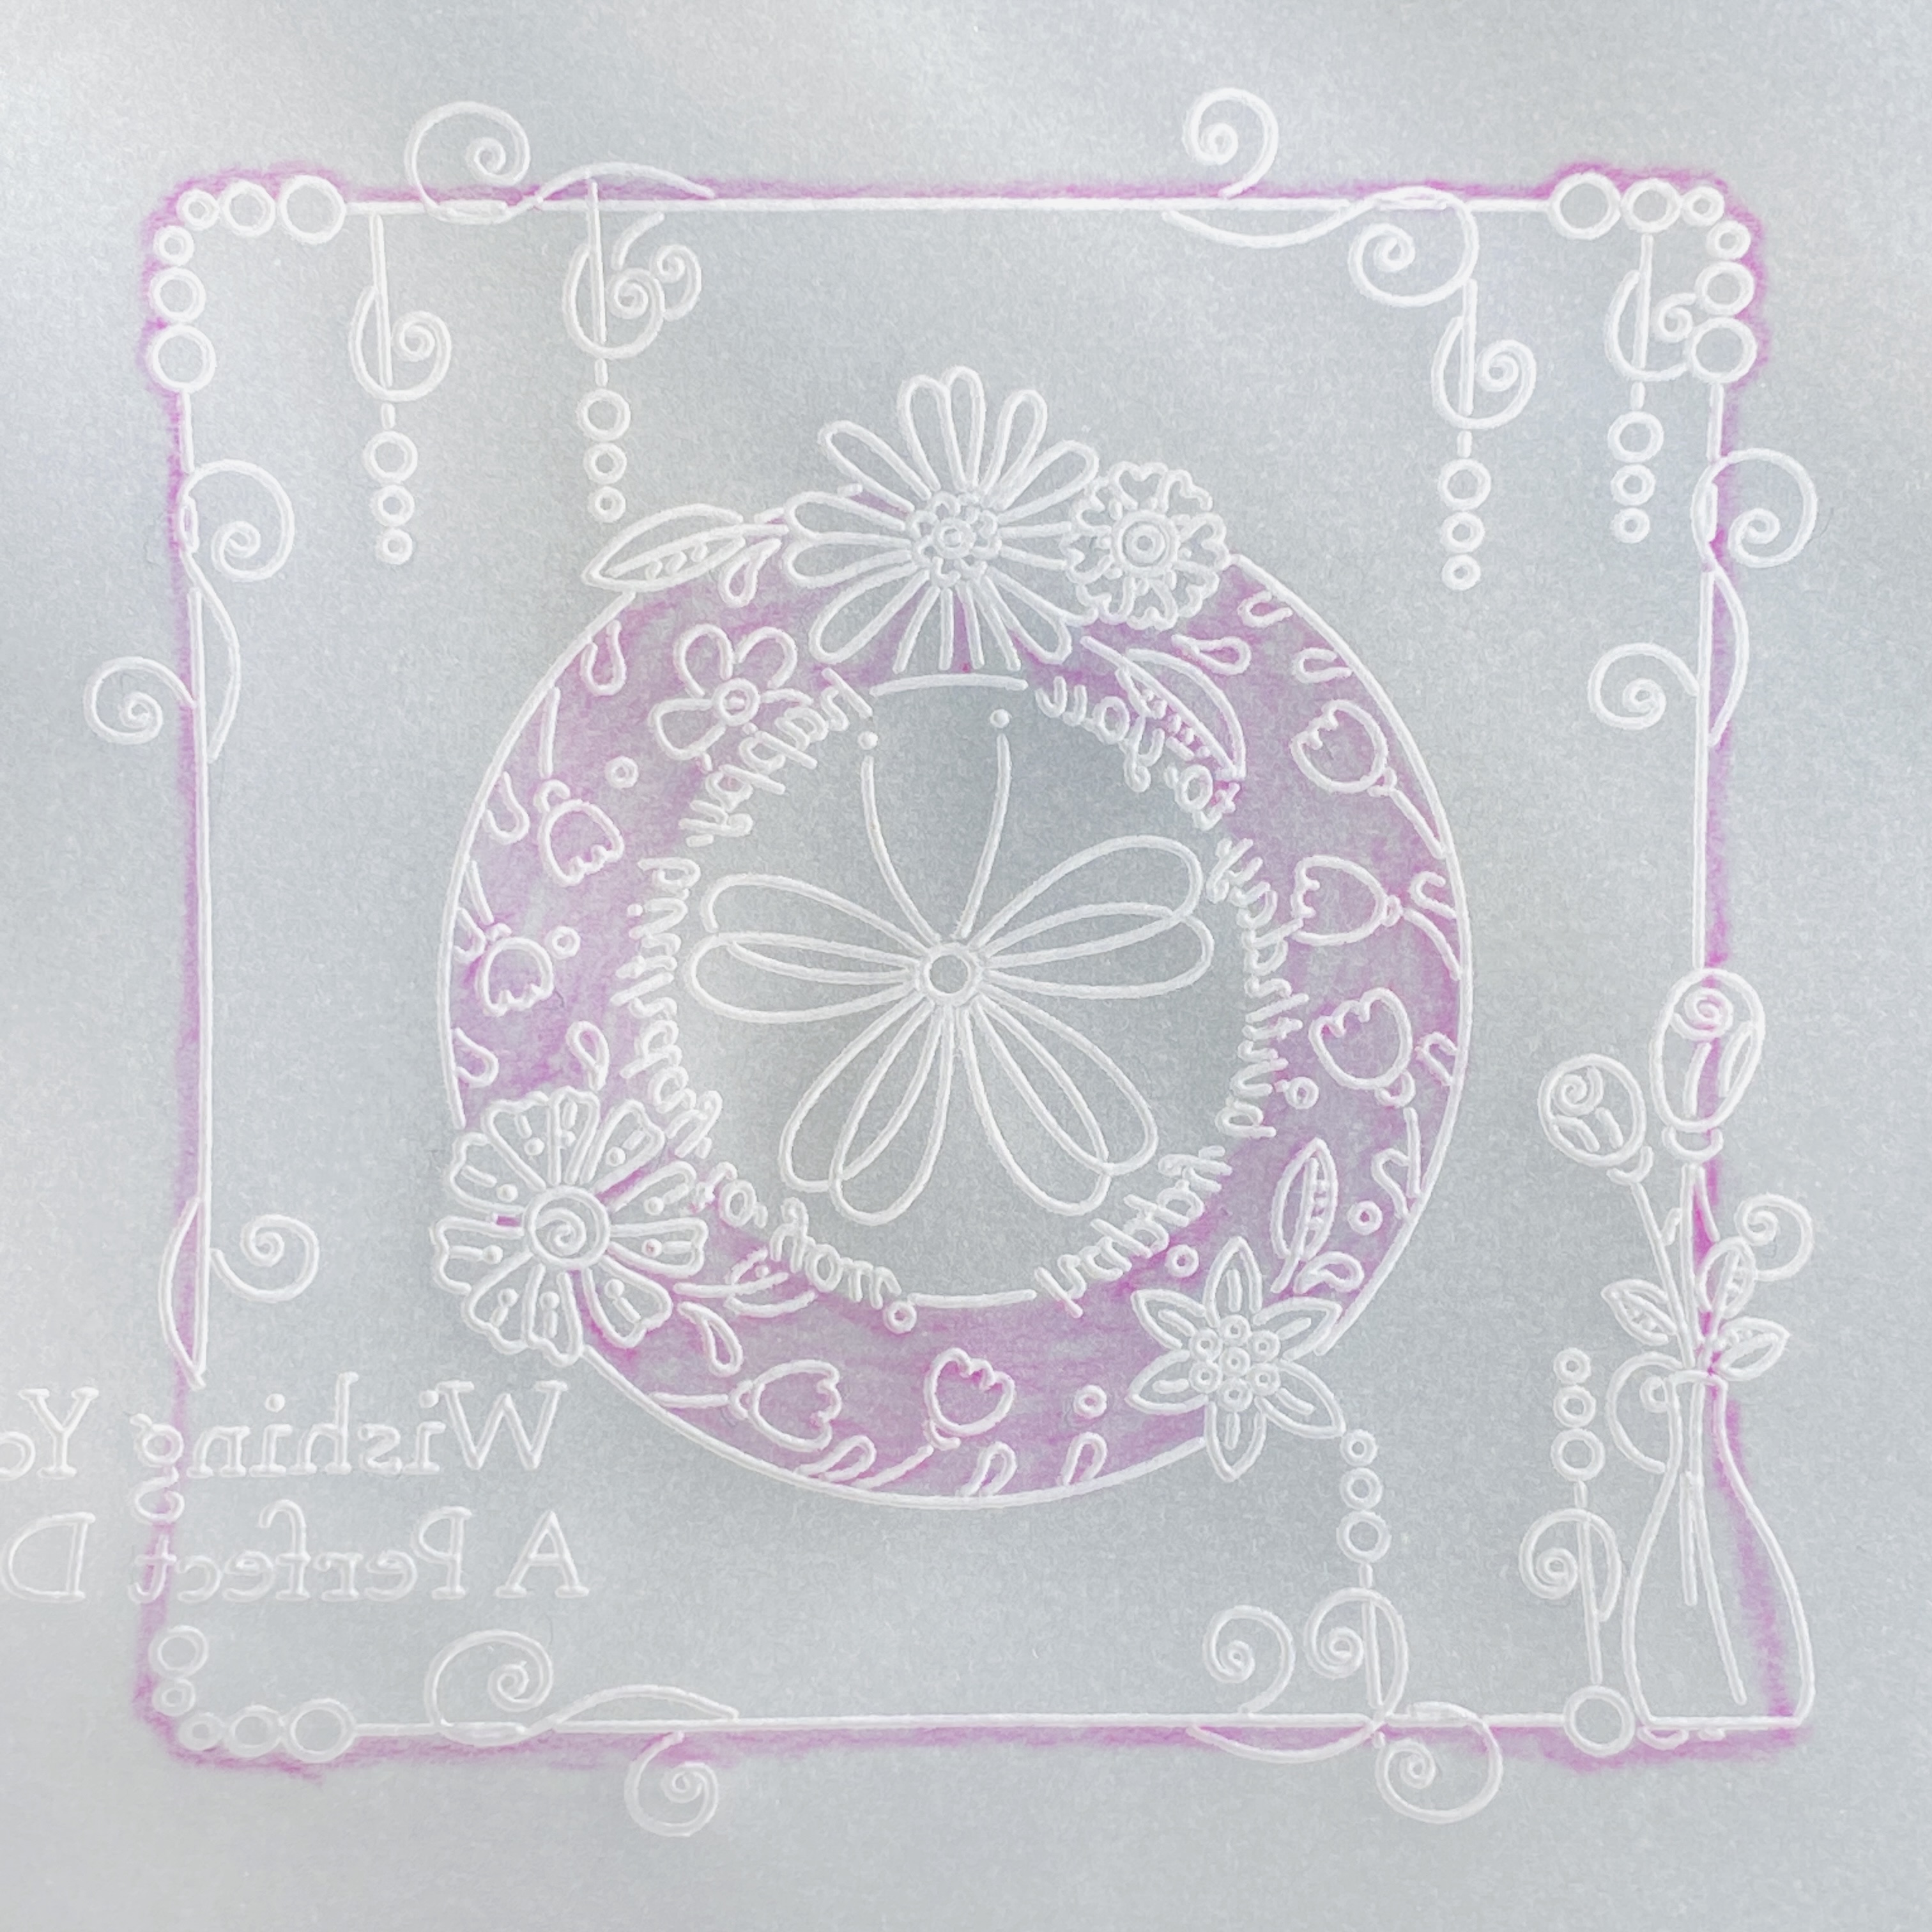
Step 4: Attach the parchment back on the With Love Flowers Groovi plate and emboss the floral design around the medallion using Groovi No.1 tool (or Pergamano 1mm embossing ball tool) for the rest of the line art.

Step 5: Inside the medallion, emboss part of the floral design from the Happy Birthday Flowers Groovi plate to create a butterfly using the Groovi No.1 tool (or Pergamano 1mm embossing ball tool).

Step 6: Still working on the back, colour in the space between the 2 circles and a little bit around the outside of the doodle frame using the Perga Liner B pencils.
Step 9: Blend the colour using a little Dorso oil and a blending nib.
(If you have too much oil on your nib, the colour will come off, so blot off the excess on a piece of kitchen towel. If you have too little oil, the blending will not be smooth, so touch just the very tip of the nib on the Dorso oil for the tiniest amount of oil)

Step 10: Using the white end of an eraser pencil (found here), rub off the blended colour from the flower petals and leaves.

Step 11: Colour the flower petals, leaves, butterfly wings, and circles using Perga Colours Exclusive pens.

To Finish: Add as much or as little (or none) Perga glitter as you wish.
Cut squares from Rainbow River designer paper, white card and Rainbow River companion paper using the 3 largest Nested Squares Picot Cut Die.
Mount and attach the pieces together using Pergamano brads and stick this on folded white card.
Here is a smaller version where I have added a bit of whitework and with not so many backing paper layers …

Sending everyone STAY SAFE WISHES sprinkled with PERGA GLITTER. Take care.
Lots of Love, Hugs and Laughter
Tina x