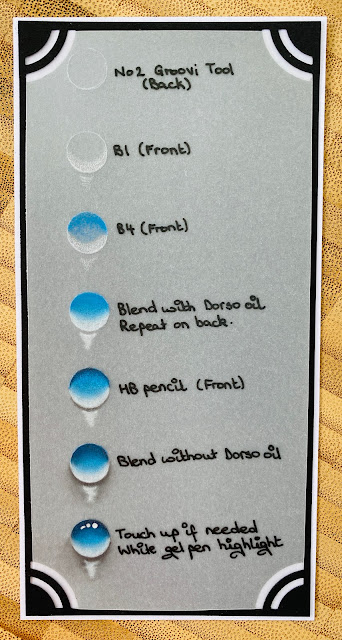
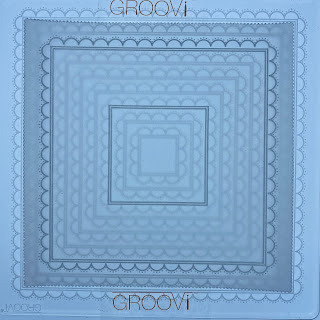
Here is the step by steps for the card I demo-ed on Create and Craft for the Pergamano show on Thursday, 6/4/2023, at 11am using Linda's 123 Winged Friends and other A5 Square Groovi Plates...

Groovi Plates
Groovi Deluxe Starter Kit with A5sq Butterfly Wreath Groovi Plate (GRO-SK-41709-XX)
Nested Squares Picot Cut Die Set & Groovi Plate (ACC-DI-30698-66)
Nested Scallops Squares & Circles A5 Square Groovi Plate Duo (GRO-PA-40573-03)
Linda's 123- DEF Winged Friends A5 Square Groovi Plate Trio (GRO-FL-40998-03)
Floral Backgrounds A5 Square Groovi Plate Duo (GRO-FL-41128-03)
All the embossing on this project is done on the back.
The colouring on this project is done on the back.
Step 1: Die cut the 4th largest picot square on clear parchment using the Nested Squares Picot dies.
Using the Groovi No.1 tool (or Pergamano 1mm embossing ball tool), emboss the 3rd largest double square outlines, scallops, and dots over the Nested Scallops Squares Groovi plate.
Step 2: In the middle, emboss the 3rd smallest double circle outlines and scallops over the Nested Scallops Circles Groovi plate using the Groovi No.1 tool (or Pergamano 1mm embossing ball tool).
Step 3: In the circle, emboss medium lavender design over the Butterfly Groovi plate using the Groovi No.1 tool (or Pergamano 1mm embossing ball tool) for the stems.
Step 4: Emboss 3 dragonflies over the Dragonfly Groovi plate using the Groovi No.2 tool (or Pergamano 1.5mm embossing ball tool) very lightly for the wings and the Groovi No.1 tool (or Pergamano 1mm embossing ball tool) for the body.
... so it looks like this on the front ...
Step 5: Using the Groovi No.1 tool (or Pergamano 1mm embossing ball tool), create a panel by embossing double outlines over the Nested Scallops Squares Groovi plate.
Step 6: In the panel emboss the background over the Floral Backgrounds Groovi plate using the Groovi No.1 tool (or Pergamano 1mm embossing ball tool).
Step 7: On the back, using the Groovi 2, 3 & 4 tools (or Pergamano 1mm, 1.5mm and 3mm embossing ball tools) gently emboss in the lavender petals and dragonfly wings.
(Let the parchment rest between layers)
Step 8: Still working on the back, colour using the Perga Liner B pencils.
Step 9: Blend the colours using a little Dorso oil and a blending nib. Use a different nib for each colour if possible.
(If you have too much oil on your nib, the colour will come off, so blot off the excess on a piece of kitchen towel. If you have too little oil, the blending will not be smooth, so touch just the very tip of the nib on the Dorso oil for the tiniest amount of oil)
To Finish: Add as much or as little (or none) Perga glitter as you wish.
Mount and layer the parchment piece on Companion paper using Pergamano brads (I have used a sequins under the brads).
Stick this on folded white card using Clarity Roll-a-Tape.
Groovi plates and ingredients are available on https://claritycrafts.com.
Sending everyone STAY SAFE WISHES sprinkled with PERGA GLITTER. Take care.
Lots of Love, Hugs and Laughter
Tina x


