Monday, 10 April 2023

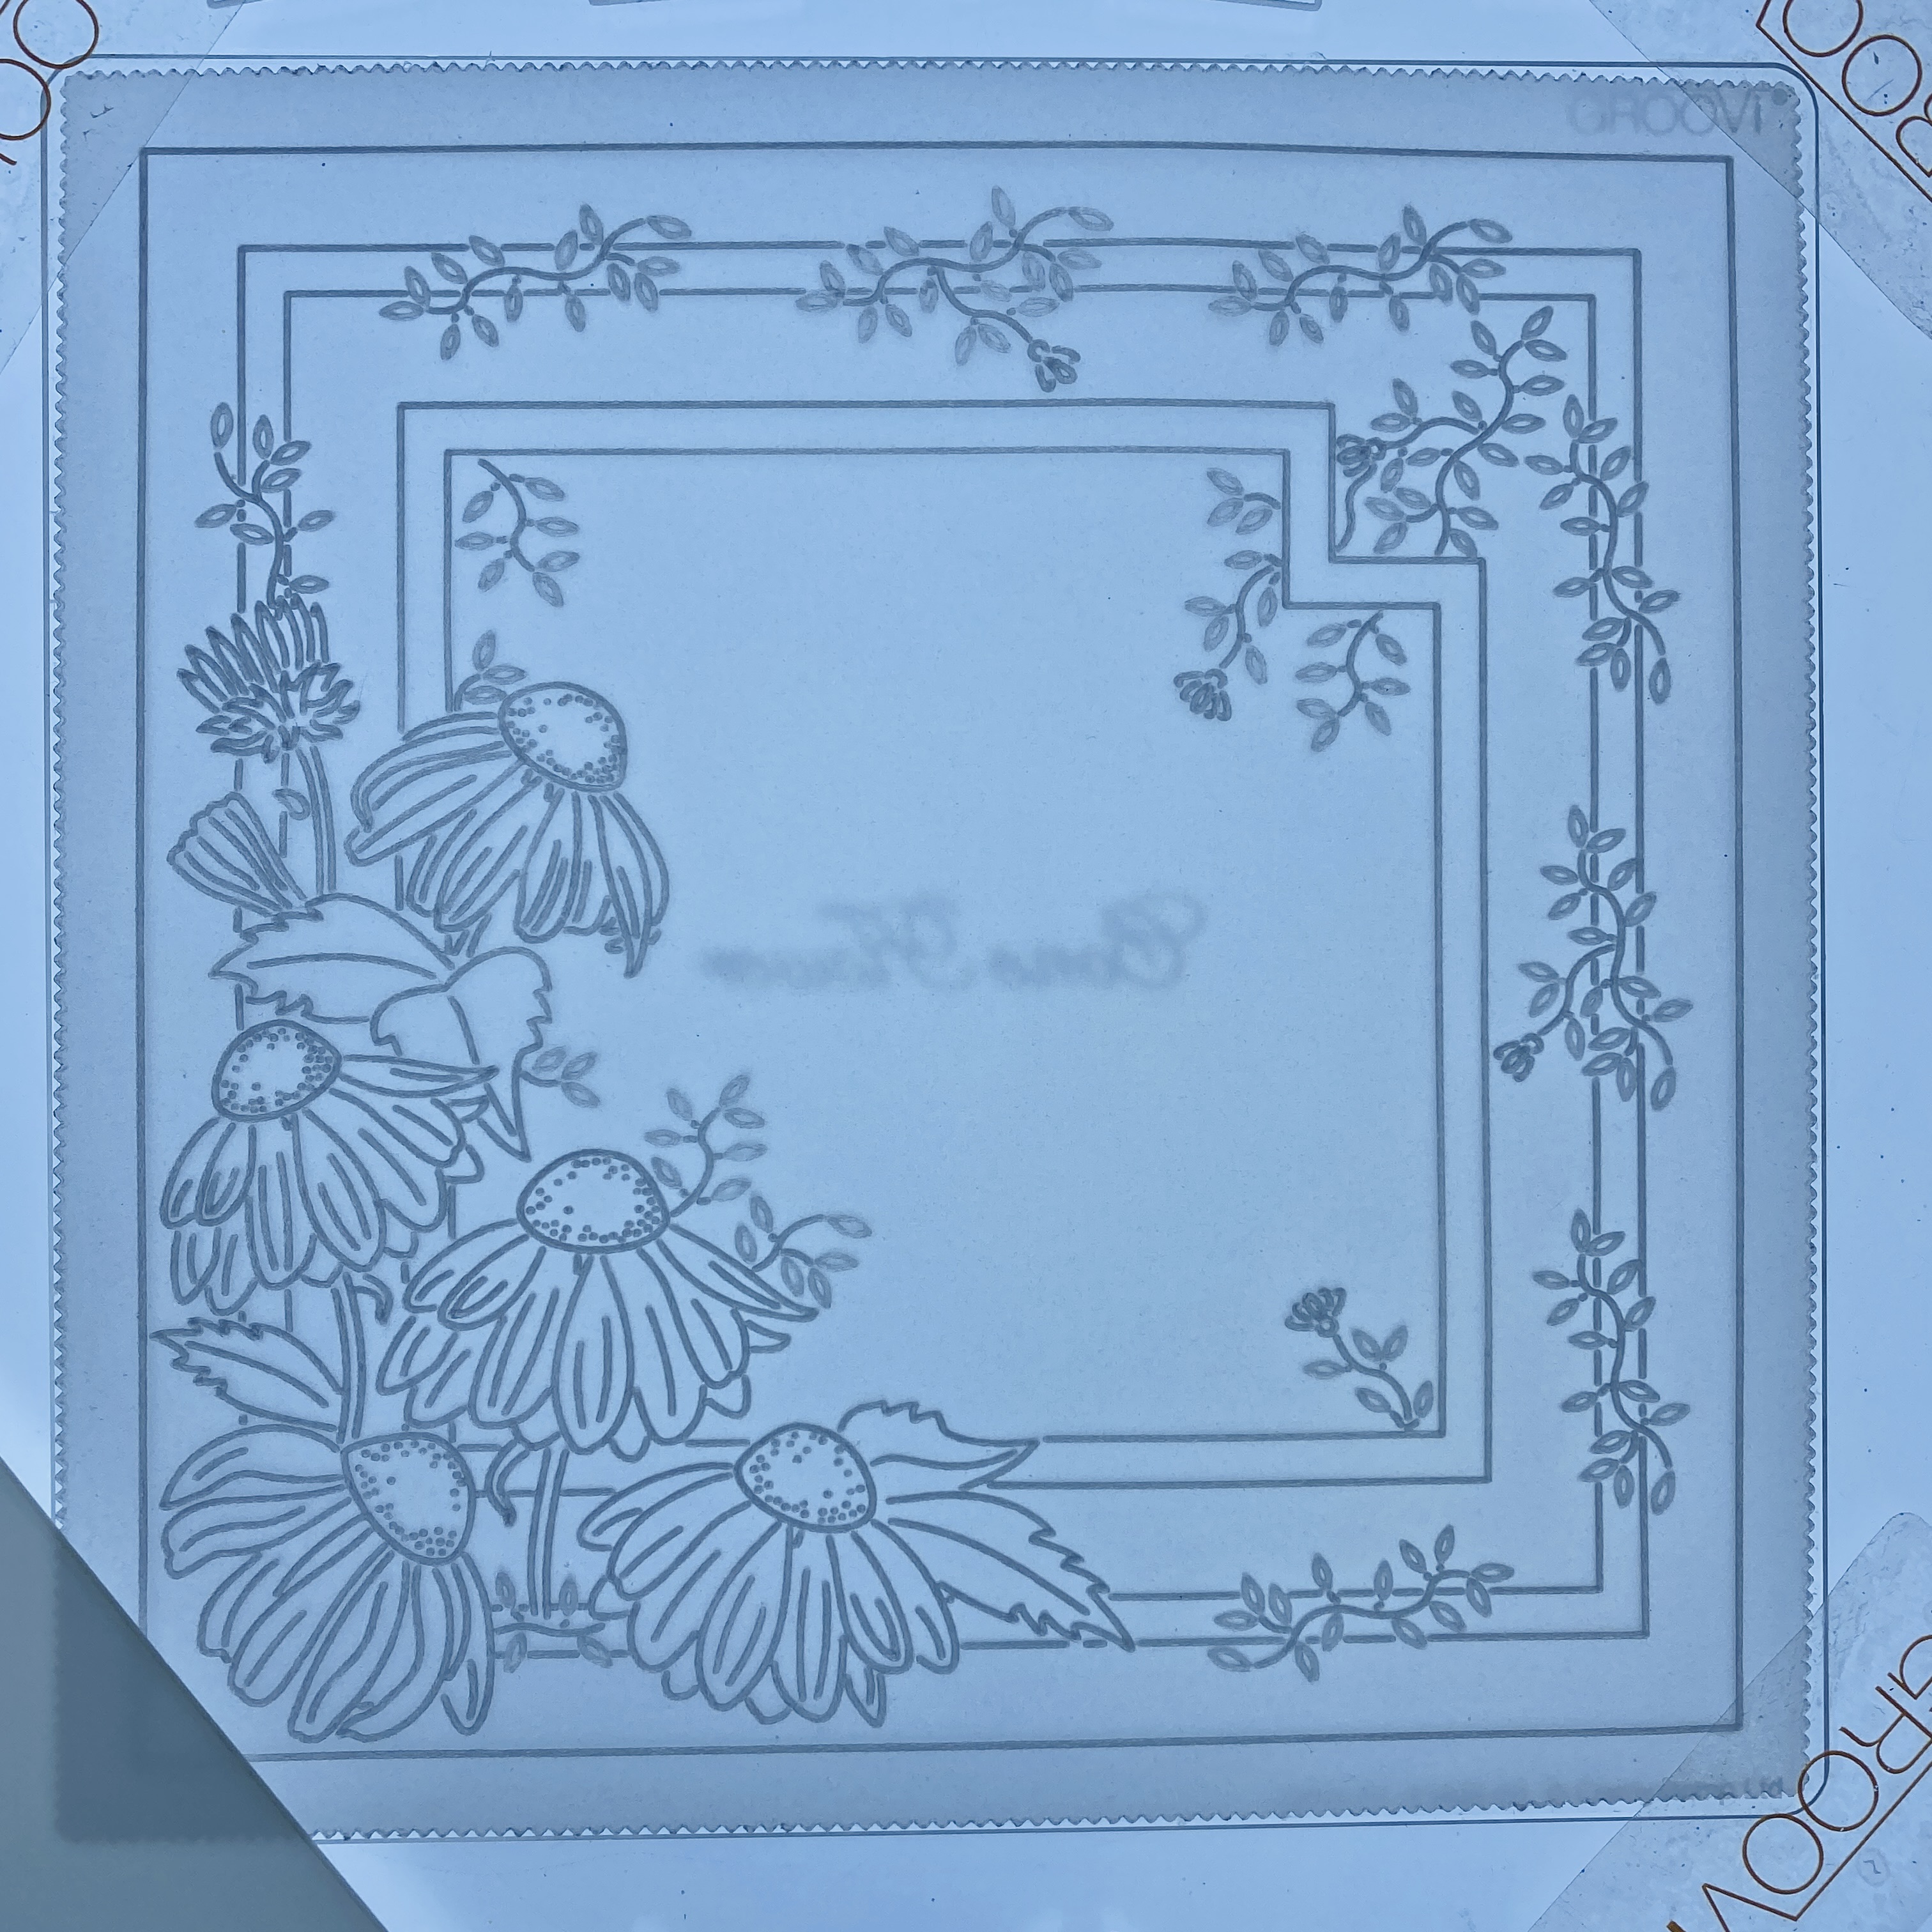
Floral Delights - Inspiration 2

 Here is my next offering using the Floral Delights Collection designed by Jazz at Clarity headquarters ...


Groovi Deluxe Starter Kit with A5sq Butterfly Wreath Groovi Plate (GRO-SK-41709-XX)

Nested Squares Picot Cut Die Set & Groovi Plate  (ACC-DI-30698-66)

Floral Delights - All Occasions Groovi Collection (GRO-FL-41966-XX

Floral Delights - Bouquets & Vases A4 Square Groovi Plate (GRO-FL-41941-15)

Floral Delights - Spring - Happy Anniversary A6 Groovi Plate (GRO-FL-41937-15)

Word Chain Alphabet Groovi Border Plate Mate (GRO-MA-40559-13)

Straight Basic & Pattern No.1 Good Border Piercing Grids (GRO-GG-41018-14)


All the embossing on this project is done on the back.
The colouring on this project is done on the back.
All the perforating and cutting on this project are done from the front.

Step 1: Die cut the3rd largest picot square on rainbow parchment (I have used Lemon Sorbet) using the Nested Squares Picot dies.
With the glossy brighter side facing up (this is the back of the work), emboss the corresponding double squares outlines from the Nested Squares Picot Groovi plate using the Groovi No.1 tool (or Pergamano 1mm embossing ball tool).

Step 2: Over the Bouquets & Vases plate from the Floral Delights - All Occasions Groovi Collection, emboss the little circles using the Groovi No.2 tool (or Pergamano 1.5mm embossing ball tool) and the rest of the line art using the Groovi No.1 tool (or Pergamano 1mm embossing ball tool) for the bouquet.

Step 3: Emboss the sentiment from the Spring - Happy Anniversary plate from the Floral Delights - All Occasions Groovi Collection using the Groovi No.1 tool (or Pergamano 1mm embossing ball tool).

Step 4: On the front, over the super foam and the Straight Pattern No.1 Groovi Border Piercing Grid, perforate the border pattern across the bouquet and greeting box (skipping the areas with previously embossed line art) using the bold 1-needle perforating tool.

Step 5: Turn the parchment over to the back, line up the perforations over the corresponding Straight Basic Groovi Border Piercing Grid and emboss dots in and around the perforated grid pattern using the Groovi No.2 tool (or Pergamano 1.5mm embossing ball tool).

Step 6: Using the Groovi 2 & 3 tools (or Pergamano 1mm & 1.5mm embossing ball tools) gently emboss the circles, some leaves and flower buds.
(Let the parchment rest between layers)

Step 7: Still working on the back, colour the flowers and leaves which had not been embossed using Perga Colours Exclusive pens.

Step 8: Colour the greetings box using the Perga Liner B pencils.
Blend the colours using a little Dorso oil and a blending nib. Use a different nib for each colour if possible.
(If you have too much oil on your nib, the colour will come off, so blot off the excess on a piece of kitchen towel. If you have too little oil, the blending will not be smooth, so touch just the very tip of the nib on the Dorso oil for the tiniest amount of oil)

Step 9: Picot cut between all the perforations making sure the scissors are over the waste when you cut.

To Finish: Add as much or as little (or none) Perga glitter as you wish.
Die cut the 2nd largest picot square on corresponding rainbow paper using the Nested Squares Picot dies.
Cut a white square and companion paper slightly larger than the previous layer.
Mount and attach the layers using Pergamano brads (I have used a sequins under the brads).
  Stick this on folded 7"x7" white card using Clarity Roll-a-Tape.
Stick ribbon on the bouquet using a glue dot.


Groovi plates and ingredients are available on https://claritycrafts.com.

Sending everyone STAY SAFE WISHES sprinkled with PERGA GLITTER. Take care.

Lots of Love, Hugs and Laughter

Tina x

Saturday, 8 April 2023

Floral Delights - Inspiration 1

 A few weeks ago, Paul launched the beautiful Floral Delights - All Occasions Groovi Collection designed by Jazz at Clarity Headquarters, As soon as I saw them, I knew I needed to play with them as they are absolutely gorgeous. So over the next few days, I'll the share the step by steps of 3 of the samples I made here and the 4th sample will be a step by step on the Clarity Matters Blog. I guess, I'll go in the order I created them so I don't mix up my step by step photos ... Here is the first one ...


Groovi Plates

Groovi Deluxe Starter Kit with A5sq Butterfly Wreath Groovi Plate (GRO-SK-41709-XX)

Calligraphy Alphabet A5 Groovi Plate Mate (GRO-MA-40517-08)

Nested Squares Picot Cut Die Set & Groovi Plate  (ACC-DI-30698-66)

Nested Rectangles Picot Cut Die Set & Groovi Plate  (ACC-DI-30695-66)

Nested Arch Tags Fresh Cut Die set & A5 Groovi Plate (CLA-PA-20100-XX)

Floral Delights - All Occasions Groovi Collection (GRO-FL-41966-XX

Floral Delights - Bouquets & Vases A4 Square Groovi Plate (GRO-FL-41941-15)

Floral Delights - Autumn - Thinking Of You A6 Groovi Plate (GRO-FL-41941-15)

Groovi Plate Mate for A4 Square Grids (GRO-MA-41768-21)

Josie's Straight Embossed Patterns 3 A4 Square Groovi Plate (GRO-GG-41845-24)

Josie's Straight Embossed Frames & Corners A4 square Groovi Plate (GRO-GG-42057-24)


All the embossing on this project is done on the back.
The colouring on this project is done on the back.
All the perforating and cutting on this project are done from the front.

Step 1: Die cut the 4th largest picot rectangle on rainbow parchment (I have used Rose Garden) using the Nested Rectangles Picot dies.
With the glossy brighter side facing up (this is the back of the work), emboss the corresponding double rectangles outlines from the Nested Rectangles Picot Groovi plate using the Groovi No.1 tool (or Pergamano 1mm embossing ball tool).

Step 2: Over the Bouquets & Vases plate from the Floral Delights - All Occasions Groovi Collection, emboss the vase using the Groovi No.1 tool (or Pergamano 1mm embossing ball tool).


Step 3: Emboss the flower bouquet, leaving out the stems in the vase, using the Groovi No.1 tool (or Pergamano 1mm embossing ball tool).


Step 4: On the vase, emboss the pattern over Josie’s Straight Embossed Patterns 3, using the Groovi No.1 tool (or Pergamano 1mm embossing ball tool) for the lines and the Groovi No.2 tool (or Pergamano 1.5mm embossing ball tool) for the dots.


Step 5: Still working on the back, colour the flowers and leaves using Perga Colours Exclusive pens.

Step 6: Colour vase using the Perga Liner B pencils.
Blend the colours using a little Dorso oil and a blending nib. Use a different nib for each colour if possible.
(If you have too much oil on your nib, the colour will come off, so blot off the excess on a piece of kitchen towel. If you have too little oil, the blending will not be smooth, so touch just the very tip of the nib on the Dorso oil for the tiniest amount of oil)

Step 7: Die cut the smallest tag on clear parchment using the Nested Arch Tag dies.
Emboss the corresponding double outlines and dots around the inner outline from the Nested Arch Tag Groovi plate using the Groovi No.1 tool (or Pergamano 1mm embossing ball tool).

Step 8: Emboss the sentiment from the Autumn - Thinking Of You plate from the Floral Delights - All Occasions Groovi Collection using the Groovi No.1 tool (or Pergamano 1mm embossing ball tool).

Step 9: Emboss stitch lines between alternate dots using the Groovi No.1 tool (or Pergamano 1mm embossing ball tool).

Step 10: Die cut the 3rd largest picot square on clear parchment using the Nested Squares Picot dies.
Emboss the corresponding double square outlines from the Squares Picot Groovi plate using the Groovi No.1 tool (or Pergamano 1mm embossing ball tool).

Step 11: Still working on the back, about an inch into the square colour on one side using the Perga Liner B pencils and blend the colours using a little Dorso oil and a blending nib.

Step 12: Over the Straight Embossed Frames & Corners plate, emboss the dots using the Groovi No.2 tool (or Pergamano 1.5mm embossing ball tool) and the rest of the line art using the Groovi No.1 tool (or Pergamano 1mm embossing ball tool).

Step 13: Colour between the double outlives and in the circles using Perga Colours Exclusive pens.

To Finish:
Die cut the 3rd largest picot rectangle on corresponding rainbow paper using the Nested Rectangles Picot dies.
Mount and attach the layers using Pergamano brads (I have used a sequins under the brads).
  Stick this on folded 6"x6" white card using Clarity Roll-a-Tape.
Tie a ribbon on the tag and stick it on the rainbow parchment piece using a glue dot.

Groovi plates and ingredients are available on https://claritycrafts.com.


Sending everyone STAY SAFE WISHES sprinkled with PERGA GLITTER. Take care.


Lots of Love, Hugs and Laughter

Tina x

Tuesday, 4 April 2023

Linda's Flowers and Lace Set 3 - Inspiration 2

   Here is the step by steps for the card I demo-ed on Create and Craft on Saturday, 25/3/23, at 5pm using Linda Williams' Flowers & Lace Set 2 & 3 alongside Josie's Embossed Pattern Grids and other Groovi Plates …


Groovi Plates

Groovi Deluxe Starter Kit with A5sq Butterfly Wreath Groovi Plate (GRO-SK-41709-XX)

Nested Squares Picot Cut Die Set & Groovi Plate (ACC-DI-30698-66)

Linda's Cone Flower & Lace A5 Square Groovi Plate (GRO-FL-41646-03)

Linda's Violet & Lace A5 Square Groovi Plate (GRO-FL-41230-03)

Special Day Sentiments A5 Square Groovi Plate (GRO-FL-41408-03)

Josie's Diagonal Embossed Patterns 2 A4 Square Groovi Plate (GRO-GG-41793-24)


All the embossing on this project is done on the back.
The colouring on this project is done on the back.

Step 1: Die cut the 4th largest picot square on clear parchment paper using the Nested Squares Picot dies.
Using the Groovi No.2 tool (or Pergamano 1.5mm embossing ball tool) for the tiny leaves and the Groovi No.1 tool (or Pergamano 1mm embossing ball tool) for the rest of the line art, emboss everything except the greeting over the Cone Flower & Lace Groovi plate. 

Step 2: Using the Groovi No.1 tool (or Pergamano 1mm embossing ball tool), emboss the sentiment over the Special Day Sentiments Groovi plate.

Step 3: Using the Groovi No.1 tool (or Pergamano 1mm embossing ball tool), using part of the floral design from the Violet & Lace Groovi plate to create and emboss 3 butterflies.

Step 4: Between the frames, emboss the dots over the Diagonal Embossed Patterns 2 plate using the Groovi No.2 tool (or Pergamano 1.5mm embossing ball tool).
Remove the parchment and align the dots to complete embossing the dots over the whole sections.

Step 5: Using the Groovi 2, 3 & 4 tools (or Pergamano 1mm, 1.5mm and 3mm embossing ball tools) gently emboss the tiny leaves and butterflies.
(Let the parchment rest between layers)

Step 6: Still working on the back, colour using the Perga Liner B pencils.

Step 7: Blend the colours using a little Dorso oil and a blending nib. Use a different nib for each colour if possible.
(If you have too much oil on your nib, the colour will come off, so blot off the excess on a piece of kitchen towel. If you have too little oil, the blending will not be smooth, so touch just the very tip of the nib on the Dorso oil for the tiniest amount of oil)

To Finish: Add as much or as little (or none) Perga glitter as you wish.
Mount and layer the parchment piece on Companion paper and white card.
Attach all the layers using Pergamano brads.
  Stick this on folded white card using Clarity Roll-a-Tape.


Groovi plates and ingredients are available on https://claritycrafts.com.


Sending everyone STAY SAFE WISHES sprinkled with PERGA GLITTER. Take care.


Lots of Love, Hugs and Laughter

Tina x

Friday, 31 March 2023

Linda's Flowers and Lace Set 3 - Inspiration 1

  Here is the step by steps for the card I demo-ed on Create and Craft on Saturday, 25/3/23, at 1pm using Linda Williams' Flowers & Lace Set 2 & 3 alongside Josie's Embossed Pattern Grids and other Groovi Plates …


Groovi Plates

Groovi Deluxe Starter Kit with A5sq Butterfly Wreath Groovi Plate (GRO-SK-41709-XX)

Nested Squares Picot Cut Die Set & Groovi Plate (ACC-DI-30698-66)

Linda's Daffodil & Lace A5 Square Groovi Plate (GRO-FL-41647-03)

Linda's Sweet Pea & Lace A5 Square Groovi Plate (GRO-FL-41229-03)

Linda's Nested Square Doily Frames A5 Square Groovi Plate (GRO-FL-41409-03)

Josie's Diagonal Embossed Patterns 3 A4 Square Groovi Plate (GRO-GG-41844-24)


All the embossing on this project is done on the back.
The colouring on this project is done on the back.

Step 1: Die cut the 4th largest picot square on clear parchment paper using the Nested Squares Picot dies. Emboss the 4th largest double square outlines from the corresponding Nested Picot Squares Groovi plate using the Groovi No.1 tool (or Pergamano 1mm embossing ball tool).

Step 2: In one corner, emboss part of the floral design over the Daffodil & Lace Groovi plate using the Groovi No.1 tool (or Pergamano 1mm embossing ball tool).

Step 3: Repeat in the opposite diagonal corner.

Step 4: Between the daffodil designs, emboss the border over the Sweet Pea & Lace Groovi plate using the Groovi No.1 tool (or Pergamano 1mm embossing ball tool) for the line art and the Groovi No.2 tool (or Pergamano 1.5mm embossing ball tool) for the dots.

Step 5: Emboss part of the doily frame over the Nested Square Doily Frames Groovi plate using the Groovi No.1 tool (or Pergamano 1mm embossing ball tool).

Step 6: Inside the square, emboss the dots over the Diagonal Embossed Patterns 3 plate using the Groovi No.2 tool (or Pergamano 1.5mm embossing ball tool) and the lines using the Groovi No.1 tool (or Pergamano 1mm embossing ball tool).
Remove the parchment and align the dots to complete embossing the dots over the whole section.

Step 7: Still working on the back, colour using the Perga Liner B pencils.

Step 8: Blend the colours using a little Dorso oil and a blending nib. Use a different nib for each colour if possible.
(If you have too much oil on your nib, the colour will come off, so blot off the excess on a piece of kitchen towel. If you have too little oil, the blending will not be smooth, so touch just the very tip of the nib on the Dorso oil for the tiniest amount of oil)

To Finish: Add as much or as little (or none) Perga glitter as you wish.
Mount and layer the parchment piece on Companion paper and white card.
Attach all the layers using Pergamano brads.
  Stick this on folded white card using Clarity Roll-a-Tape.


Groovi plates and ingredients are available on https://claritycrafts.com.


Sending everyone STAY SAFE WISHES sprinkled with PERGA GLITTER. Take care.


Lots of Love, Hugs and Laughter

Tina x

Thursday, 30 March 2023

Linda's 123 - Florals - Inspiration 2

   Here is the step by steps for the card I demo-ed on Create and Craft for the Pergamano show on Thursday, 9/3/2023, at 3pm using Linda's 123 Floral and other A5 Square Groovi Plates...

Groovi Plates

Groovi Deluxe Starter Kit with A5sq Butterfly Wreath Groovi Plate (GRO-SK-41709-XX)

Nested Squares Picot Cut Die Set & Groovi Plate (ACC-DI-30698-66)

Nested Scallops Squares & Circles A5 Square Groovi Plate Duo (GRO-PA-40573-03)

Linda's 123- ABC Daisy, Sweet Pea & Hydrangea A5 Square Set (GRO-FL-40941-03)

Floral Backgrounds A5 Square Groovi Plate Duo (GRO-FL-41128-03)


The embossing of the line art on this project is done on the front and back.
The colouring on this project is done on the back.

Step 1: Die cut the 3rd largest picot square on clear parchment using the Nested Squares Picot dies.
Using the Groovi No.1 tool (or Pergamano 1mm embossing ball tool), emboss the 2nd largest double square outlines, scallops, and dots over the Nested Scallops Squares Groovi plate.

Step 2: About 2/3rds down, emboss a couple of the 3rd smallest double circle outlines and scallops over the Nested Scallops Circles Groovi plate using the Groovi No.1 tool (or Pergamano 1mm embossing ball tool).

Step 3: Using the Groovi No.1 tool (or Pergamano 1mm embossing ball tool), create a panel by embossing double outlines over the Nested Scallops Squares Groovi plate.

Step 4: In the right circle (this will appear on the left on the front), emboss smallest daisy design over the Daisy Groovi plate using the Groovi No.2 tool (or Pergamano 1.5mm embossing ball tool) very lightly for the flowers and the Groovi No.1 tool (or Pergamano 1mm embossing ball tool) for the stems.

... so it looks like this ...

Step 5: In the left circle (this will appear on the right on the front), emboss smallest sweet pea design over the Sweet Pea Groovi plate using the Groovi No.2 tool (or Pergamano 1.5mm embossing ball tool) very lightly for the flowers and the Groovi No.1 tool (or Pergamano 1mm embossing ball tool) for the stems.

... so it looks like this ...

Step 6: In the panel, from the front, emboss the background over the Floral Backgrounds Groovi plate using the Groovi No.1 tool (or Pergamano 1mm embossing ball tool).

Step 7: On the back, using the Groovi 2, 3 & 4 tools (or Pergamano 1mm, 1.5mm and 3mm embossing ball tools) gently emboss in the floral designs and in all the scallops.
(Let the parchment rest between layers)

Step 8: Still working on the back, colour in the panel using the Perga Liner B pencils.
 Blend the colours using a little Dorso oil and a blending nib. Use a different nib for each colour if possible.
(If you have too much oil on your nib, the colour will come off, so blot off the excess on a piece of kitchen towel. If you have too little oil, the blending will not be smooth, so touch just the very tip of the nib on the Dorso oil for the tiniest amount of oil)

To Finish: Add as much or as little (or none) Perga glitter as you wish.
Mount and layer the parchment piece on companion paper and white card.
Attach all the layers using Pergamano brads.
  Stick this on folded white card using Clarity Roll-a-Tape.


Groovi plates and ingredients are available on https://claritycrafts.com.


Sending everyone STAY SAFE WISHES sprinkled with PERGA GLITTER. Take care.


Lots of Love, Hugs and Laughter

Tina x