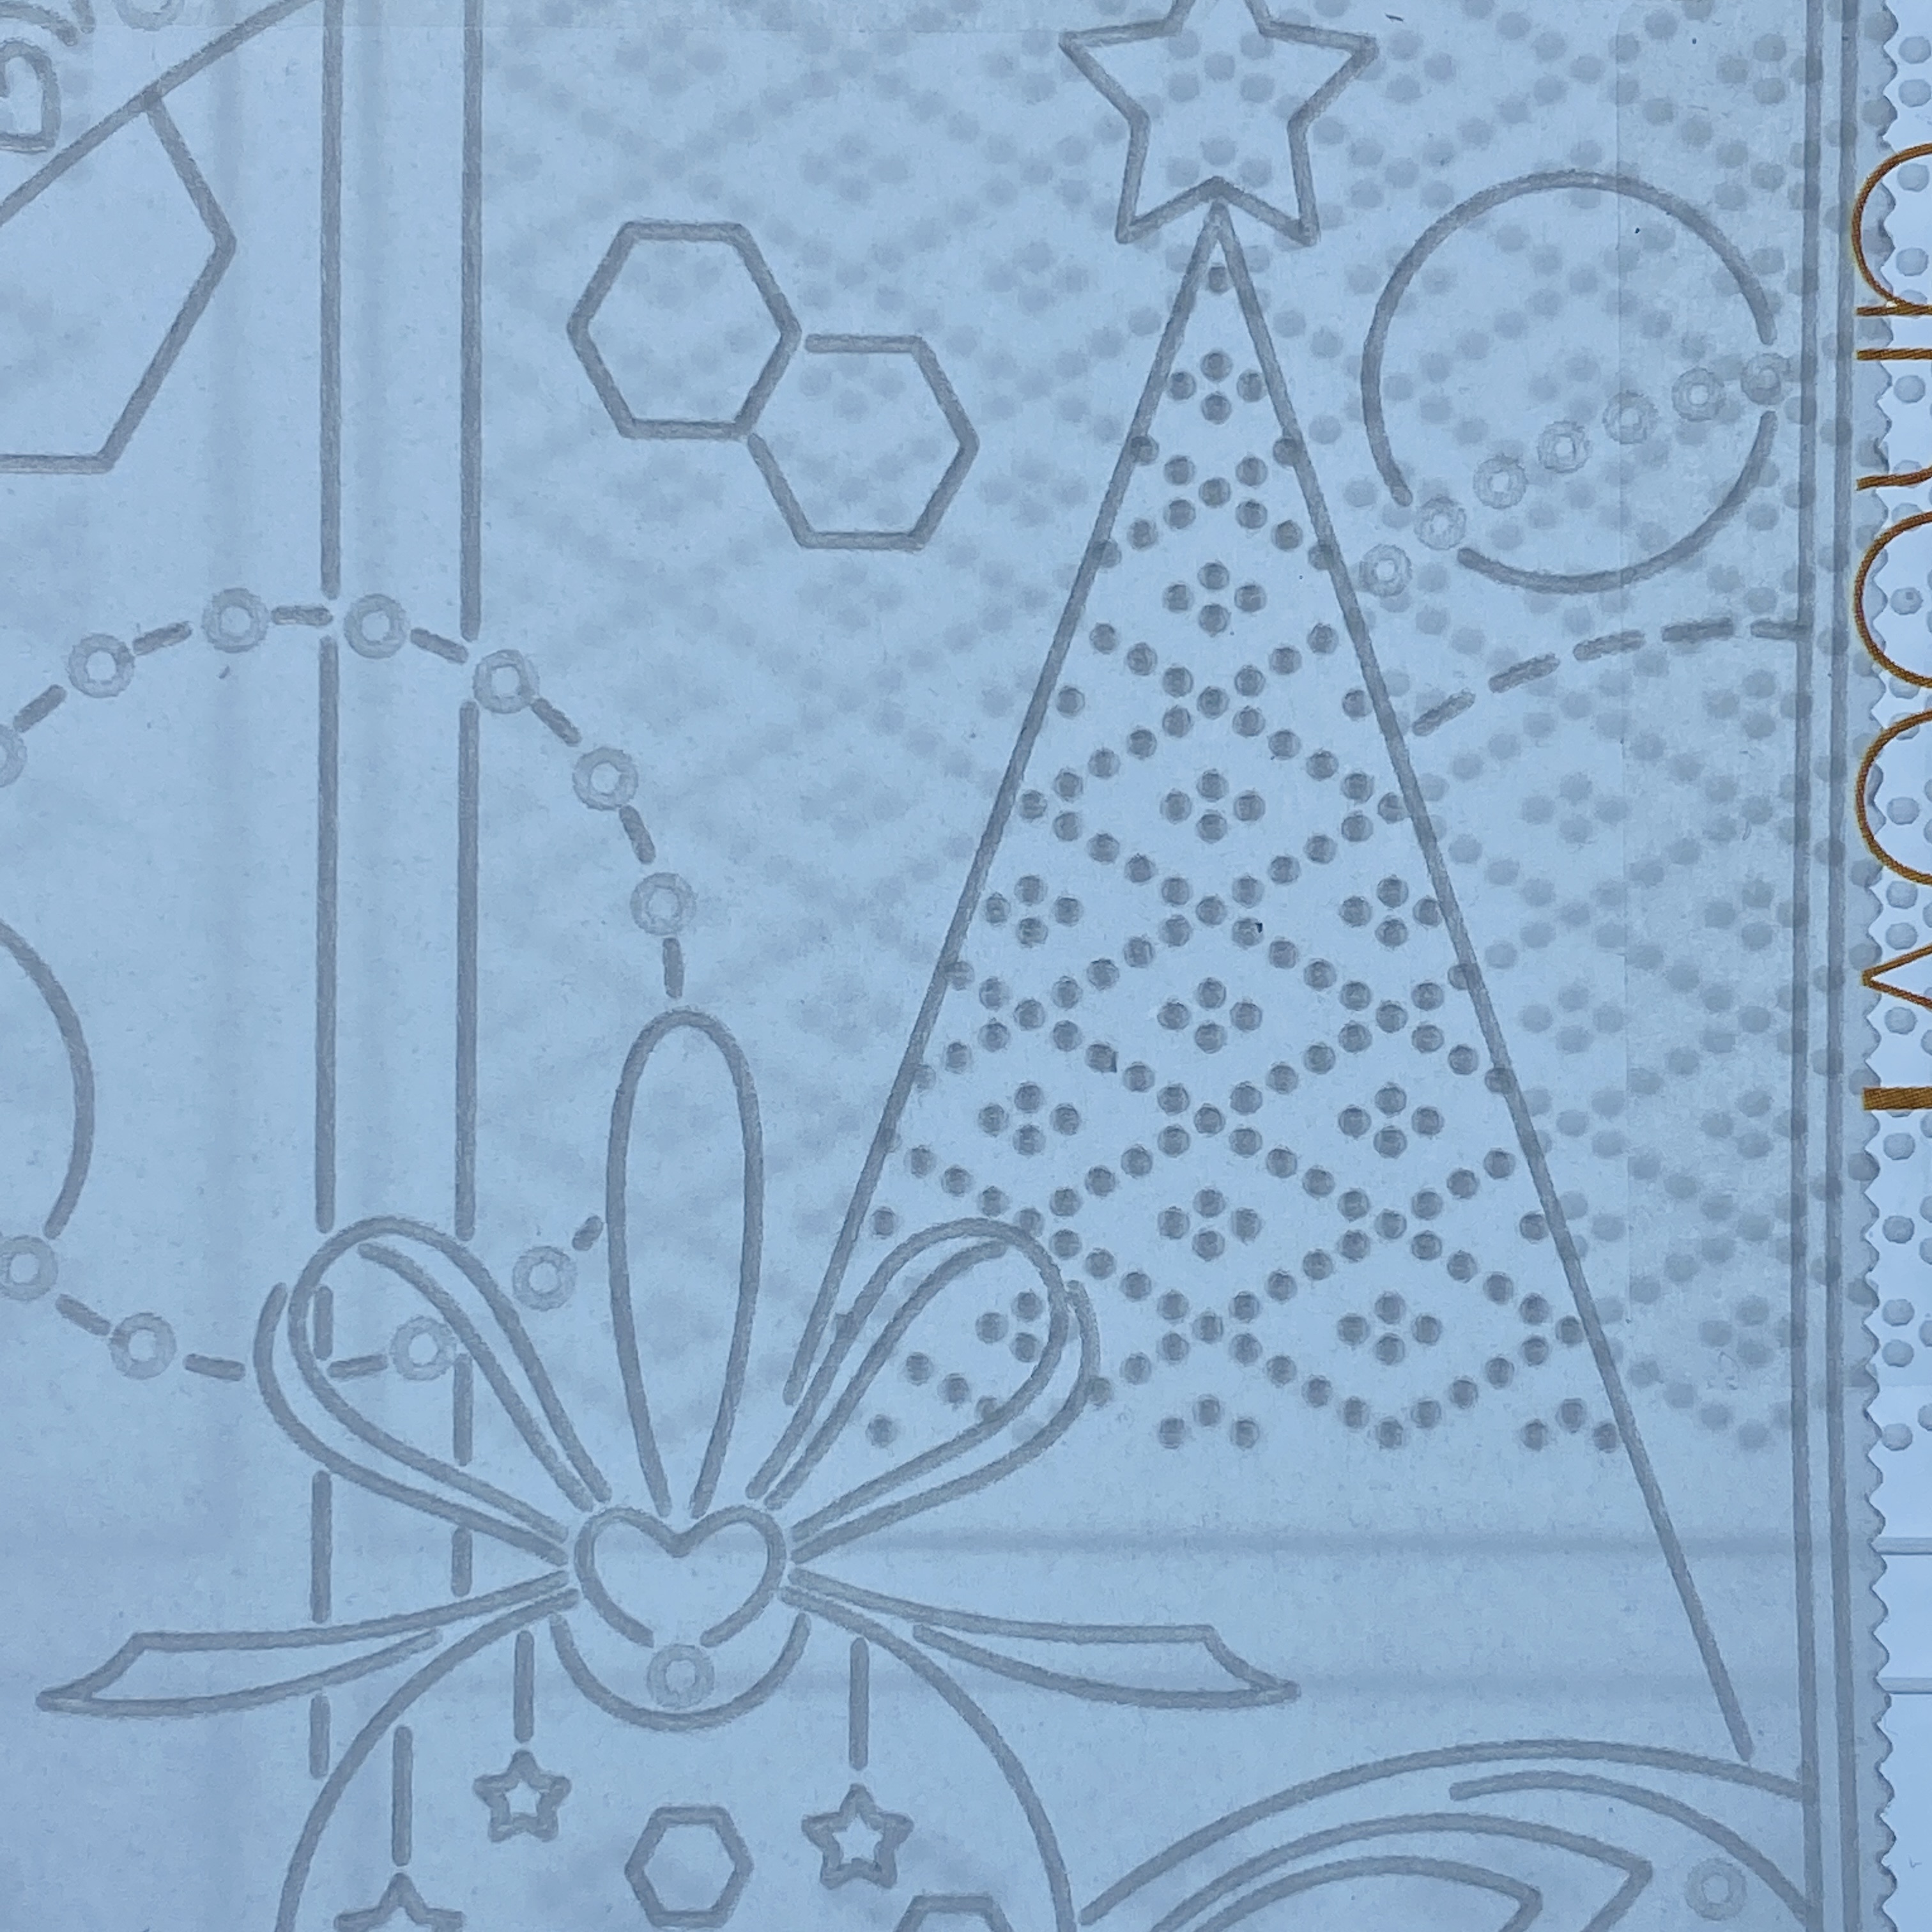
Monday, 21 November 2022

Frames and Layers Inspiration 2

 Here is the step by steps for the card I demo-ed on Create and Craft on Thursday, 17/11/22, at 3pm using the Christmas Layering Collection of Groovi plates and the Star Frame Groovi plate ...

Deluxe Groovi Plate Starter Kit + Butterfly Wreath A5 Square Plate  GRO-SK-40709-XX
Nested Squares Picot Cut Die Set & Groovi Plate  ACC-DI-30698-66
Tina's Christmas Layering Collection A5 Square Groovi Plate Set  GRO-CH-41306-03
Tina's Snowflake Frame A5 Square Groovi Plate  GRO-CH-41010-03

All the embossing on this project is done on the back.
The colouring on this project is done on the back.
All the perforating and cutting on this project are done from the front.

Step 1: Die cut the 2nd largest picot square on clear parchment paper using the Nested Squares Picot dies. Emboss the 2nd and 4th largest double square outlines from the corresponding Nested Picot Squares Groovi plate using the Groovi No.1 tool (or Pergamano 1mm embossing ball tool).
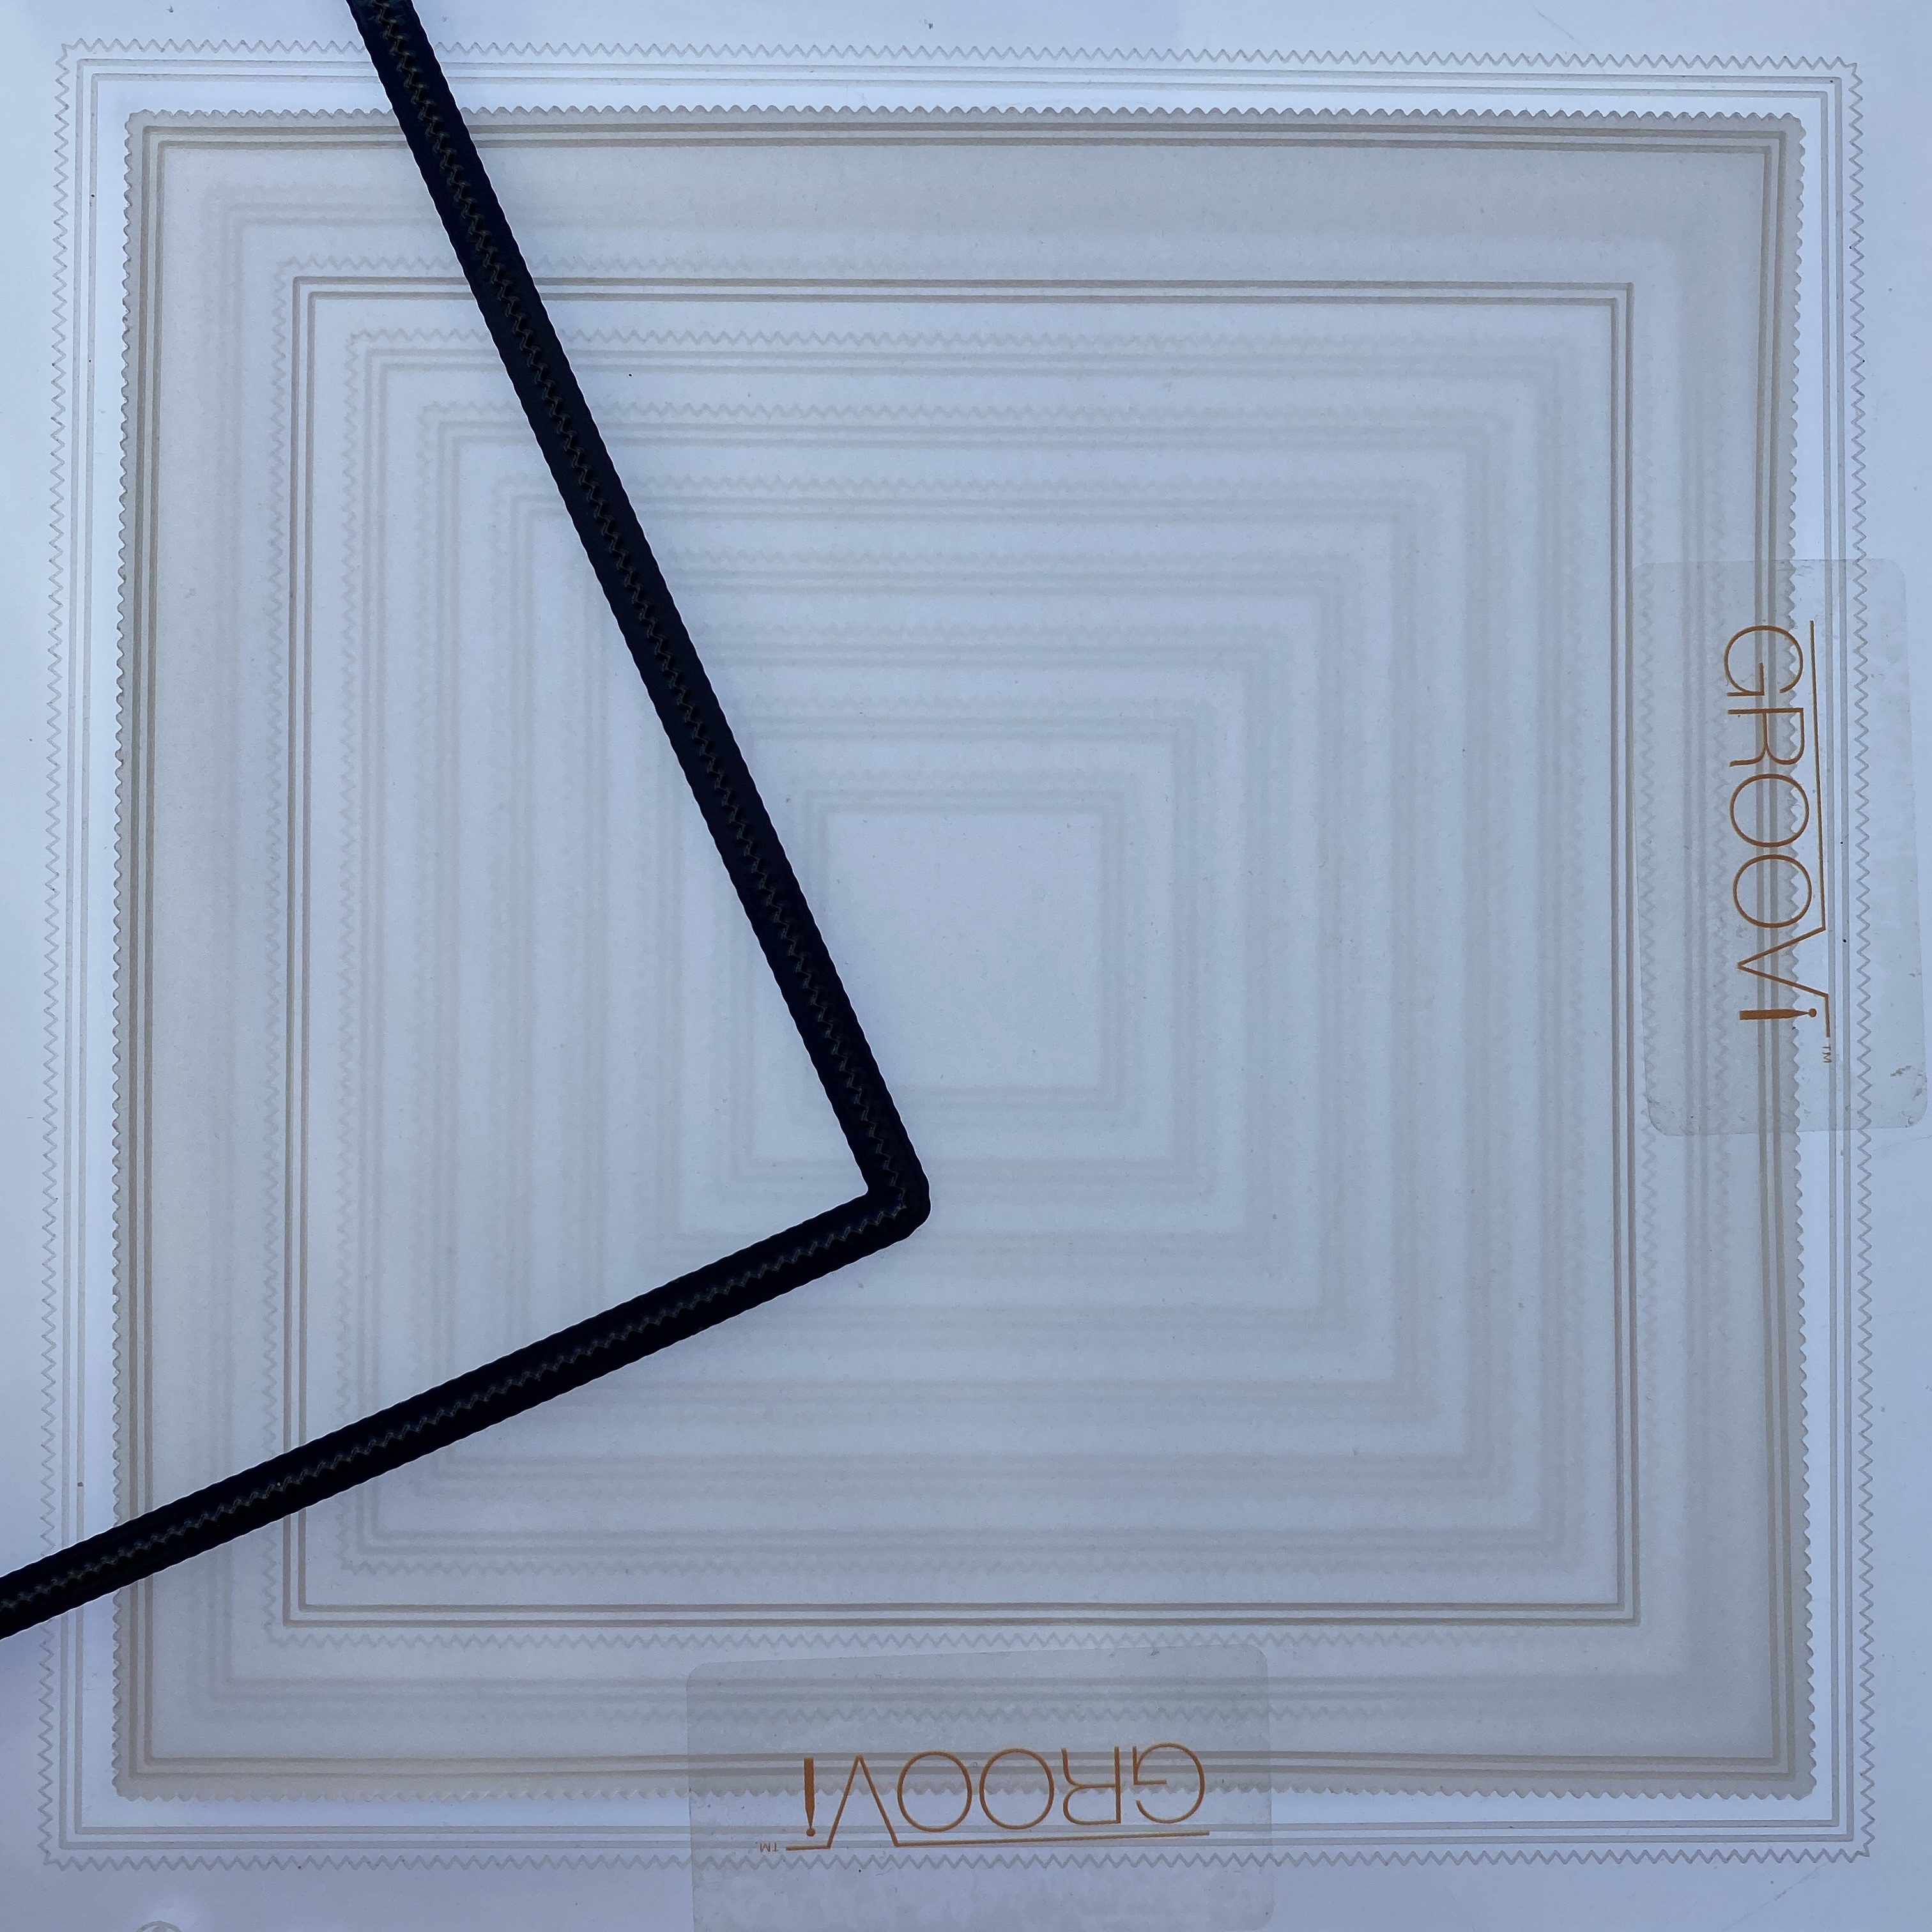
Step 2: Emboss the Heart Merry Christmas stem panel from the Merry Christmas Panels Groovi plate using the Groovi No.2 tool (or Pergamano 1.5mm embossing ball tool) for the circles and Groovi No.1 tool (or Pergamano 1mm embossing ball tool) for the rest of the line art.

Step 3: Emboss the hearts lace border from the Hearty Christmas Groovi plate (remember to not emboss into the previously embossed line art) using the Groovi No.2 tool (or Pergamano 1.5mm embossing ball tool) for the circles and Groovi No.1 tool (or Pergamano 1mm embossing ball tool) for the rest of the line art.

Step 4: Below the lace border, emboss the Christmas dangles from the Wave! It's Christmas Groovi plate using the Groovi No.2 tool (or Pergamano 1.5mm embossing ball tool) for the circles and Groovi No.1 tool (or Pergamano 1mm embossing ball tool) for the rest of the line art.

Step 5: Between the square frames, emboss the snowflakes frame from the Snowflake Frame Groovi plate using the Groovi No.2 tool (or Pergamano 1.5mm embossing ball tool) for the circles and Groovi No.1 tool (or Pergamano 1mm embossing ball tool) for the rest of the line art.

Step 6: Using the Groovi No.2, 3 & 4 tools (or Pergamano 1mm, 1.5mm and 3mm embossing ball tools) gently emboss inside the circles that had been embossed using the Groovi No.2 tool and inside the small leaf stems, starting with the largest ball tool and remembering to let the parchment rest between layers.

Step 7: Still working on the back, colour inside various elements using the Perga Liner B pencils.
Blend the colours using a little Dorso oil and a blending nib. Use a different nib for each colour if possible.
(If you have too much oil on your nib, the colour will come off, so blot off the excess on a piece of kitchen towel. If you have too little oil, the blending will not be smooth, so touch just the very tip of the nib on the Dorso oil for the tiniest amount of oil)

Step 8: Colour between all the double outlines, the heart and hanging baubles and stars using Perga Colours Exclusive pens.
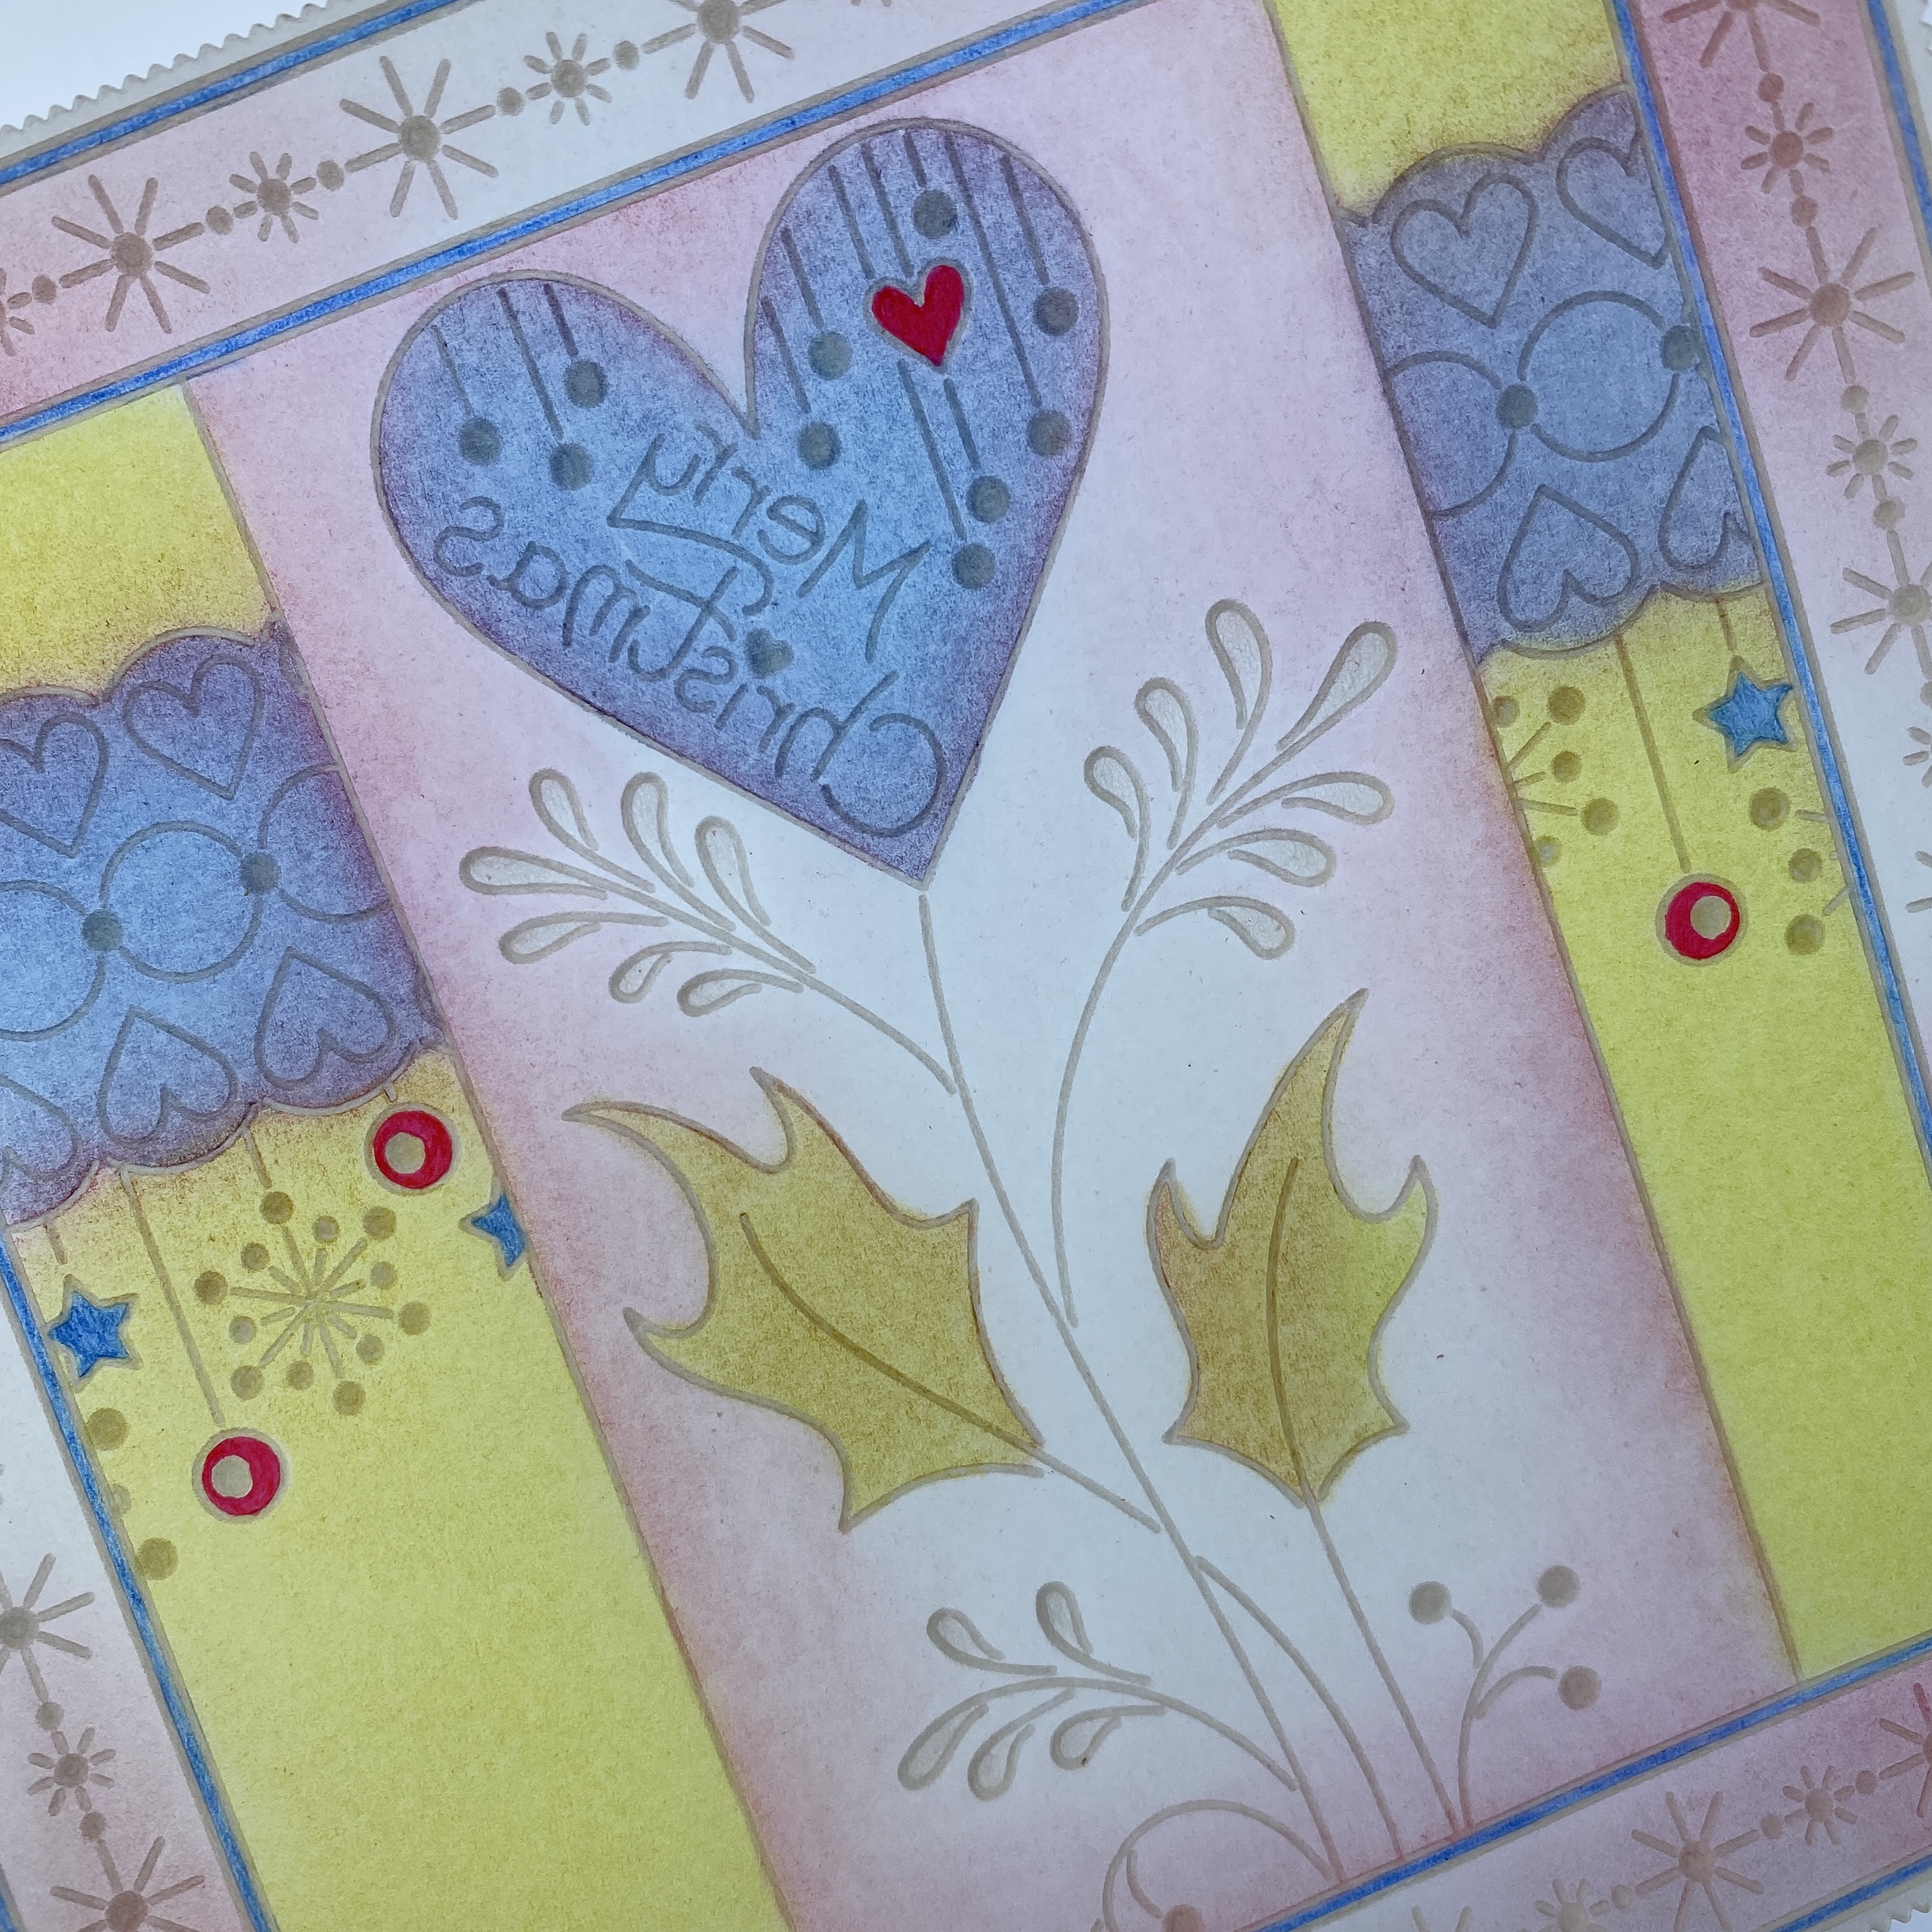
Step 9: From the front, over the super foam, using Pergamano bold 2-needle perforating tool, perforate inside the hearts and circles of the lace border.

Picot cut between all the perforations making sure the scissors are over the waste when you cut.


To Finish: Add as much or as little (or none) Perga glitter as you wish.
Cut squares from 2 shades of companion papers (I have used Northern Lights) and white card to separate the 2 colours.
Mount and attach the pieces together using Pergamano brads and stick this on folded white card.


Here are some samples I had created a number of years ago using a selection of the Christmas Layering and the Christmas Frames Groovi plates …


Groovi plates and ingredients are available on https://claritycrafts.com.


Sending everyone STAY SAFE WISHES sprinkled with PERGA GLITTER. Take care.


Lots of Love, Hugs and Laughter

Tina x

Sunday, 20 November 2022

Frames and Layers Inspiration 1

 Here is the step by steps for the card I demo-ed on Create and Craft on Thursday, 17/11/22, at 11am using the Christmas Layering Collection of Groovi plates and the Star Frame Groovi plate ...


Deluxe Groovi Plate Starter Kit + Butterfly Wreath A5 Square Plate  GRO-SK-40709-XX
Nested Squares Picot Cut Die Set & Groovi Plate  ACC-DI-30698-66
Tina's Christmas Layering Collection A5 Square Groovi Plate Set  GRO-CH-41306-03
Tina's Star Frame A5 Square Groovi Plate  GRO-CH-41013-03

All the embossing on this project is done on the back.
The colouring on this project is done on the back.

Step 1: Die cut the 3rd largest picot square on clear parchment paper using the Nested Squares Picot dies. Emboss the double square outlines from the corresponding Nested Picot Squares Groovi plate using the Groovi No.1 tool (or Pergamano 1mm embossing ball tool).

Step 2: Emboss the double square outlines from the Star Frame Groovi plate using the Groovi No.1 tool (or Pergamano 1mm embossing ball tool).
Over the Wave! It's Christmas Groovi plate, emboss the border of circles on either of the square using the Groovi No.2 tool (or Pergamano 1.5mm embossing ball tool) for the little circles inside the large circles and Groovi No.1 tool (or Pergamano 1mm embossing ball tool) for the rest of the line art.

Step 3: Emboss the Christmas tree panel from the Merry Christmas Panels Groovi plate (remember to not emboss into the previously embossed line art) using the Groovi No.2 tool (or Pergamano 1.5mm embossing ball tool) for the circles and Groovi No.1 tool (or Pergamano 1mm embossing ball tool) for the rest of the line art.

Step 4: Inside the square, emboss the floral design  from the Round Tree Window Groovi plate using the Groovi No.2 tool (or Pergamano 1.5mm embossing ball tool) for the circles (I added extra circles in the square to fill some of the area) and Groovi No.1 tool (or Pergamano 1mm embossing ball tool) for the rest of the line art.

Step 5: Stick the parchment back on the Star Frame Groovi plate. Emboss part of the swirly star frame using the Groovi No.2 tool (or Pergamano 1.5mm embossing ball tool) for the circles (I added extra circles in the square to fill some of the area) and Groovi No.1 tool (or Pergamano 1mm embossing ball tool) for the rest of the line art.

Step 6: Using the Groovi No.2, 3 & 4 tools (or Pergamano 1mm, 1.5mm and 3mm embossing ball tools) gently emboss inside the circles that had been embossed using the Groovi No.2 tool and inside the flower petals, starting with the largest ball tool and remembering to let the parchment rest between layers.

Step 7: Still working on the back, colour between all the double outlines, stars and holly leaves using Perga Colours Exclusive pens.

Step 8: Colour in the flower petals, circles border, Christmas tree panel and a tiny bit around the swirly star frame using the Perga Liner B pencils.
Blend the colours using a little Dorso oil and a blending nib. Use a different nib for each colour if possible.
(If you have too much oil on your nib, the colour will come off, so blot off the excess on a piece of kitchen towel. If you have too little oil, the blending will not be smooth, so touch just the very tip of the nib on the Dorso oil for the tiniest amount of oil)

To Finish: Add as much or as little (or none) Perga glitter as you wish.
Cut squares from 2 shades of companion papers (I have used Northern Lights) and white card to separate the 2 colours.
Mount and attach the pieces together using Pergamano brads and stick this on folded white card.


Groovi plates and ingredients are available on https://claritycrafts.com.


Sending everyone STAY SAFE WISHES sprinkled with PERGA GLITTER. Take care.


Lots of Love, Hugs and Laughter

Tina x

Friday, 4 November 2022

Christmas Centrepiece Collection Inspiration 2

Here is the step by steps for the card I demo-ed on Create and Craft on Saturday, 22/10/22, at 5pm using the Christmas Centrepiece Collection and Josie's Diagonal Embossed Patterns 1 & 2 Groovi plates ...


Groovi Plates:
Deluxe Groovi Plate Starter Kit + Butterfly Wreath A5 Square Plate  GRO-SK-40709-XX
Nested Rectangles Picot Cut Die Set & Groovi Plate. ACC-DI-30695-56
Nested Squares Picot Cut Die Set & Groovi Plate ACC-DI-30698-66
Tina's Christmas Centrepiece A5 Square Groovi Plate Quartet  GRO-CH-41342-03
Josie's Diagonal Embossed Patterns 1 A4 Square Groovi Plate  GRO-GG-41733-24
Josie's Diagonal Embossed Patterns 2 A4 Square Groovi Plate  GRO-GG-41793-24

All the embossing on this project is done on the back.
The colouring on this project is done on the back.
All the perforating and cutting on this project are done from the front.

Step 1: Die cut the 4th largest picot rectangle on clear parchment paper using the Nested Ovals Picot dies. Emboss the double square outlines from the corresponding Nested Picot Ovals Groovi plate on 3 of the sides using the Groovi No.1 tool (or Pergamano 1mm embossing ball tool).

Step 2: On the side the outlines were left out, emboss part of the round frame from the Turtle Dove plate  using the Groovi No.2 tool (or Pergamano 1.5mm embossing ball tool) for the little circles and and the rest of the line art with the Groovi No.1 tool (or Pergamano 1mm embossing ball tool).

Step 3: Inside semi-circle space, emboss the littles circles from the Christmas Tree plate using the Groovi No.2 tool (or Pergamano 1.5mm embossing ball tool) and the rest of the line art using the Groovi No.1 tool (or Pergamano 1mm embossing ball tool).

Step 4: Inside the tree, emboss the dots from one of the patterns on Josie's Diagonal Embossed Patterns 1 plate using the Groovi No.2 tool (or Pergamano 1.5mm embossing ball tool). Remove the parchment from the plate, realign the dots and emboss the dots to fill the rest of the area in the tree.

Step 5: Using the Groovi No.2, 3 & 4 tools (or Pergamano 1mm, 1.5mm and 3mm embossing ball tools) gently emboss inside the little circles starting with the largest ball tool and remembering to let the parchment rest between layers.

Step 6: Still working on the back, colour in the design elements using the Perga Liner B pencils.
Blend the colours using a little Dorso oil and a blending nib. Use a different nib for each colour if possible.
(If you have too much oil on your nib, the colour will come off, so blot off the excess on a piece of kitchen towel. If you have too little oil, the blending will not be smooth, so touch just the very tip of the nib on the Dorso oil for the tiniest amount of oil)
Use Perga Colours Exclusive pen to colour between the double rectangle outlines.

Step 7: From the front, over the super foam, using Pergamano bold 2-needle perforating tool, perforate inside the leaves, bauble string and outside the semi-circle scallops.

Picot cut between all the perforations making sure the scissors are over the waste when you cut.


Step 8: Die cut the 4th largest nested picot square on rainbow parchment paper (I've used Lavender Fields) using the Nested Squares Picot dies. Before cutting, make sure you have placed the die with the cutting side down on the softer matt side facing up.
With the glossy brighter side facing up (this is the back of the work), emboss the corresponding double square outlines from the Nested Squares Picot Groovi plate using the Groovi No.1 tool (or Pergamano 1mm embossing ball tool).

Step 9: Use Groovi tabs to hold the front of the clear parchment piece (so the back is facing up) on the back of the rainbow parchment piece so the double outlines on both pieces line up.

Step 10: Line up the scallops semi-circle part on the Turtle Dove plate. Once lined up, stick the rainbow parchment piece to the plate using Groovi tabs and remove the clear parchment piece.

Step 11: Using the Groovi No.3 tool (or Pergamano 1.5mm embossing ball tool), emboss the scallops.

Step 12: In the space between the semi-circle and the square outline, emboss the dots from one of the patterns on Josie's Diagonal Embossed Patterns 2 plate using the Groovi No.2 tool (or Pergamano 1.5mm embossing ball tool). Remove the parchment from the plate, realign the dots and emboss the dots to fill the rest of the area.

Step 13: Colour between the double square outlines using the Perga Colours Exclusive pen.

To Finish: Add as much or as little (or none) Perga glitter as you wish.
Cut squares from corresponding rainbow paper, white card and companion paper (I have used Waimea Falls) using Nested Squares Picot Dies.
Mount the parchment pieces on the die cut squares using brads and stick this on folded white card.


Here are another couple of creations using the Christmas Centrepiece Groovi plates…


Groovi plates and ingredients are available on https://claritycrafts.com.


Sending everyone STAY SAFE WISHES sprinkled with PERGA GLITTER. Take care.


Lots of Love, Hugs and Laughter

Tina x

Monday, 31 October 2022

Christmas Centrepiece Collection Inspiration 1

Here is the step by steps for the card I demo-ed on Create and Craft on Saturday, 22/10/22, at 12pm using the Christmas Centrepiece Collection and Josie's Diagonal Embossed Patterns 2 Groovi plate ...


Groovi Plates:
Deluxe Groovi Plate Starter Kit + Butterfly Wreath A5 Square Plate  GRO-SK-40709-XX
Nested Ovals Picot Cut Die Set & Groovi Plate. ACC-DI-30696-56
Nested Squares Picot Cut Die Set & Groovi Plate. ACC-DI-30698-66
Tina's Christmas Centrepiece Collection A5 Square Groovi Plate Set  GRO-CH-41342-03
Josie's Diagonal Embossed Patterns 2 A4 Square Groovi Plate  GRO-GG-41793-24

NOTE: 
All the embossing on this project is done on the back.
The colouring on this project is done on the back.

Step 1: Die cut the 3rd largest picot oval on clear parchment paper using the Nested Ovals Picot dies. Emboss the double square outlines from the corresponding Nested Picot Ovals Groovi plate using the Groovi No.1 tool (or Pergamano 1mm embossing ball tool).

Step 2: In the centre of the oval, emboss the circles from the Christmas Rose plate using the Groovi No.2 tool (or Pergamano 1.5mm embossing ball tool).

Step 3: Emboss the rest of the floral line art using the Groovi No.1 tool (or Pergamano 1mm embossing ball tool).

Step 4: Emboss 3 stars from the Christmas Centrepiece plate using the Groovi No.2 tool (or Pergamano 1.5mm embossing ball tool) for the little circles and and the rest of the line art with the Groovi No.1 tool (or Pergamano 1mm embossing ball tool).

Step 5: Inside the diamond shape, emboss the dots from one of the patterns on Josie's Diagonal Embossed Patterns 2 plate using the Groovi No.2 tool (or Pergamano 1.5mm embossing ball tool).

Step 6: Using the Groovi No.2, 3 & 4 tools (or Pergamano 1mm, 1.5mm and 3mm embossing ball tools) gently emboss inside the little circles starting with the largest ball tool and remembering to let the parchment rest between layers.

Step 7: Still working on the back, colour the floral design, circles and diamond using the pink Dorso crayon for the flowers and Perga Liner B pencils for the rest of the design.
Blend the colours using a little Dorso oil and a blending nib. Use a different nib for each colour if possible.
(If you have too much oil on your nib, the colour will come off, so blot off the excess on a piece of kitchen towel. If you have too little oil, the blending will not be smooth, so touch just the very tip of the nib on the Dorso oil for the tiniest amount of oil)

Step 8: Colour between the oval outlines using Perga Colours Exclusive pens.

Step 9: Die cut the 2nd largest picot square on rainbow parchment (I have used rose garden) using the Nested Squares Picot dies.
With the glossy brighter side facing up (this is the back of the work) emboss the framework and the horizontal and vertical lines from Christmas Centrepiece plate using the Groovi No.1 tool (or Pergamano 1mm embossing ball tool).

Step 10: Colour between the square outlines using Perga Colours Exclusive pens.

To Finish: Add as much or as little (or none) Perga glitter as you wish.
Cut squares from the corresponding rainbow paper, white card and companion paper (I have used one from Amazonia).
Mount the parchment pieces using brads and stick this on folded white card.


Groovi plates and ingredients are available on https://claritycrafts.com.


Sending everyone STAY SAFE WISHES sprinkled with PERGA GLITTER. Take care.


Lots of Love, Hugs and Laughter

Tina x